Azure AD: 8x8 Single Sign-On (SSO) and User Provisioning (SCIM) Configuration
Objective
Instructions and information covered in this article include:
Applies To
- 8x8 Admin Console
- Microsoft Azure Active Directory (Azure AD)
- Single Sign-On (SSO)
- User Provisioning (SCIM)
Features
- SSO allows users to authenticate into any 8x8 application using their corporate Azure AD credentials.
- User Provisioning allows:
- Users from Azure AD to be created in 8x8 automatically without the need to re-key common user details.
- Updates to user details made in Azure AD to be automatically pushed to 8x8.
- Deactivation of users in 8x8 by disabling their account in Azure AD.
- Existing users created directly in Admin Console can be linked to their Azure AD counterparts.
Prerequisites
To use the 8x8 Azure AD Integration you need:
- Any 8x8 X Series subscription
- Azure Active Directory of any subscription level
Note: On-premise Active Directory is not supported directly, but can be used in a “hybrid” Azure AD environment where users are synced from on-premise AD to Azure AD via an Azure AD Connect agent.
Limitations
Known limitations for the current release:
- Assignment of X Series licenses must still be completed from Admin Console, either individually or in bulk using a CSV upload.
- The user’s phone and extension numbers set in Admin Console cannot be synced back to Azure AD through the 8x8 app. This is due to limitations of Microsoft’s implementation of User Provisioning which does not allow for data to be retrieved back into Azure AD.
- The user's Site cannot be modified once it is set.
- Deleting a user in Azure AD does not delete that user in Admin Console. You must delete the user manually from Admin Console.
Considerations for existing deployments
Several factors to consider for existing deployments include managing user names and separating Single Sign-On from user provisioning.
Usernames
If you already have several 8x8 users set up in Admin Console and their usernames (as shown in Admin Console) are different from their usernames in Azure AD, please read this section carefully.
In order to link existing 8x8 users with their Azure AD equivalents, they must have the same username in both Azure AD and Admin Console. If your users already log in to 8x8 apps with their Azure AD credentials via SSO, then their 8x8 usernames can be updated to match with no disruption to the users. However, if your users currently log in with their 8x8 username (for example, they are not using their Azure AD credentials via Single Sign-On) then we strongly recommend enabling SSO and switching your users over to logging in with their Azure AD credentials via Single Sign-On before enabling user provisioning. This allows alignment of the usernames without further disruption and also provides the benefits of Single Sign-On.
Separation of Single Sign-On from user provisioning
If you already have an established user base using an earlier version of the application for Single Sign-On and you want to phase in user provisioning with a smaller subset of users, you can install a second instance of the 8x8 app into your Azure AD environment, with one configured for SSO and the other configured for User Provisioning. With this scheme you can assign users or groups to the two apps independently.
Procedure
Configuring User SSO Login
Below are instructions for configuring your Azure AD service and 8x8 Admin Console for Microsoft user login to your 8x8 applications.
If you have already configured Azure SSO login to 8x8 applications, and want to apply SCIM user provisioning to 8x8 Admin Console, skip to User Provisioning Configuration (SCIM).
Add the 8x8 App to Azure
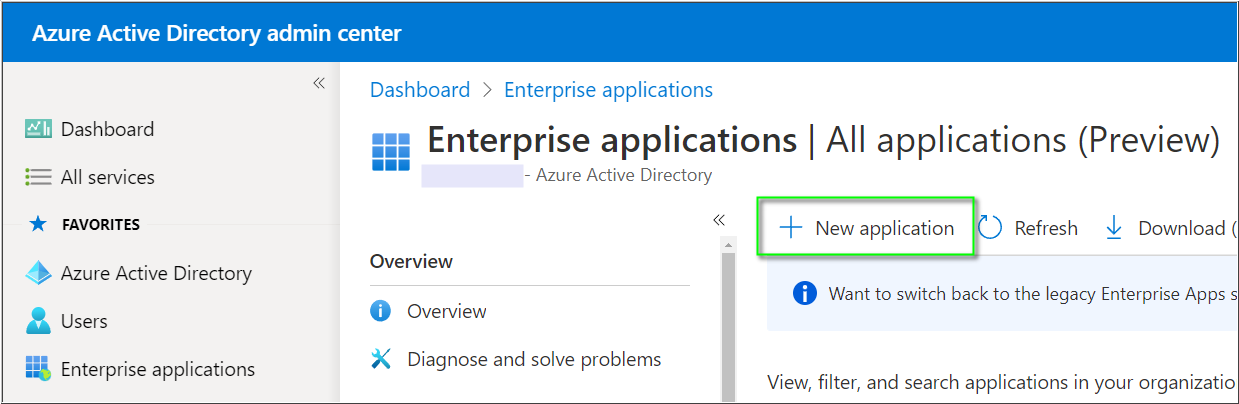
- Log in to the Azure Active Directory admin center.
- In Enterprise applications click New application.
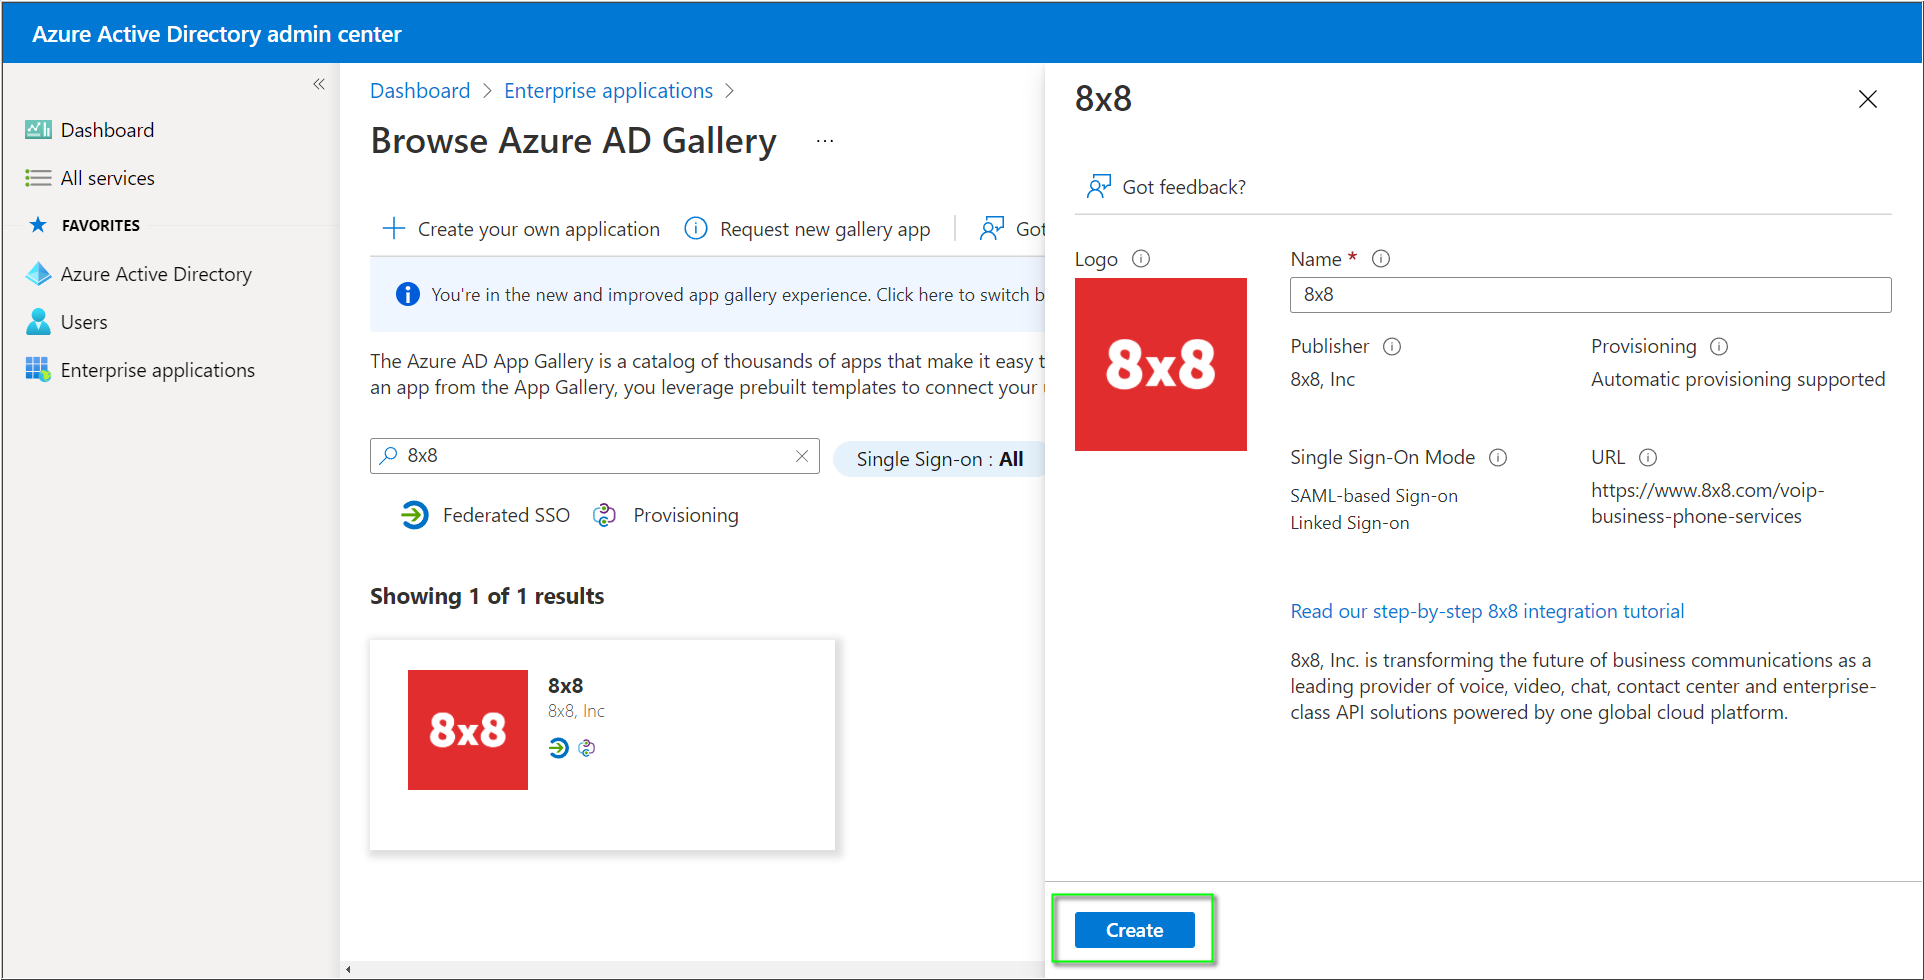
- In the Azure AD Gallery, search for 8x8. The icon will have a red background with white text.

- Select the 8x8 app, optionally rename it, and click Create.
- Configure Single Sign-On by following the instructions below.
- Note: For reference, Microsoft has an older, less up-to-date article regarding this process, here: Tutorial: Azure AD SSO integration with 8x8.
Azure SSO Configuration
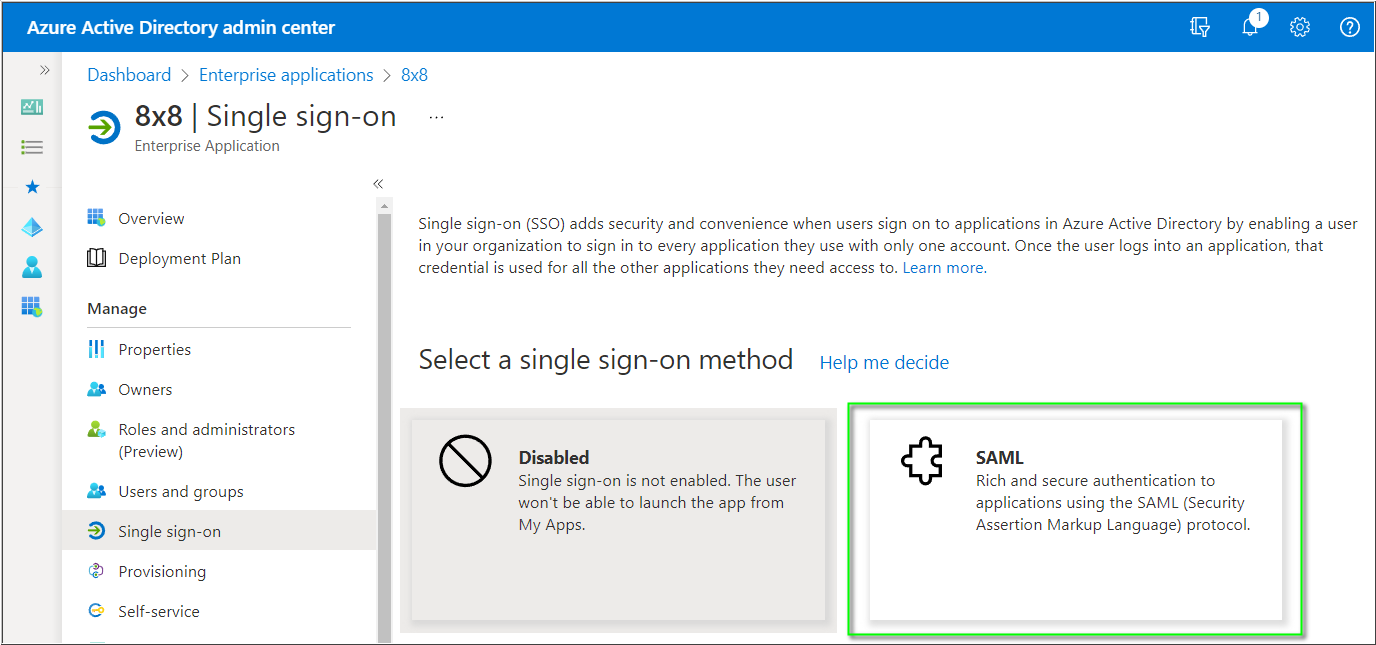
- In the Azure Active Directory admin center > Enterprise applications, click on 8x8 and click Single sign-on.
- Click SAML.
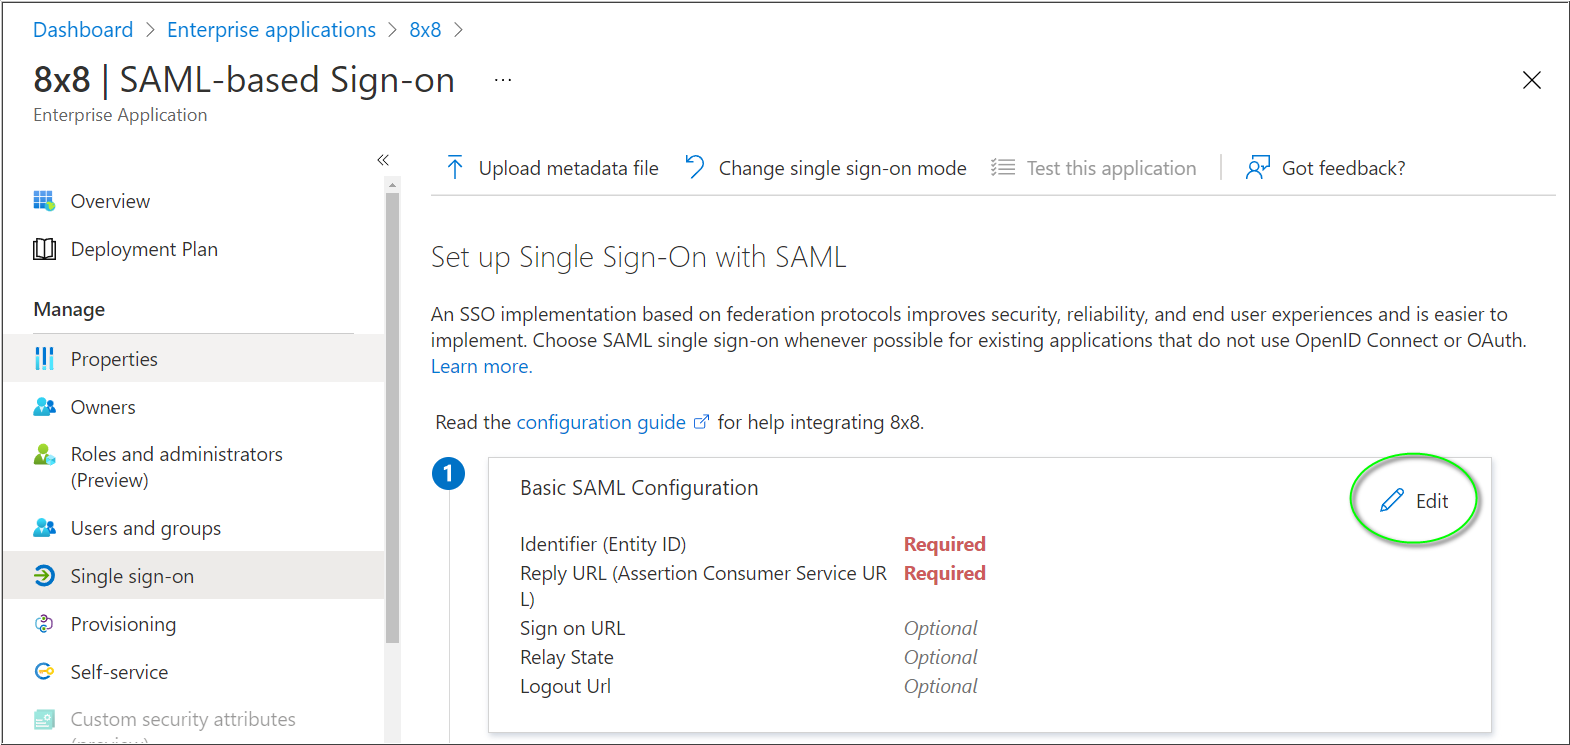
- In Basic SAML Configuration, click Edit.
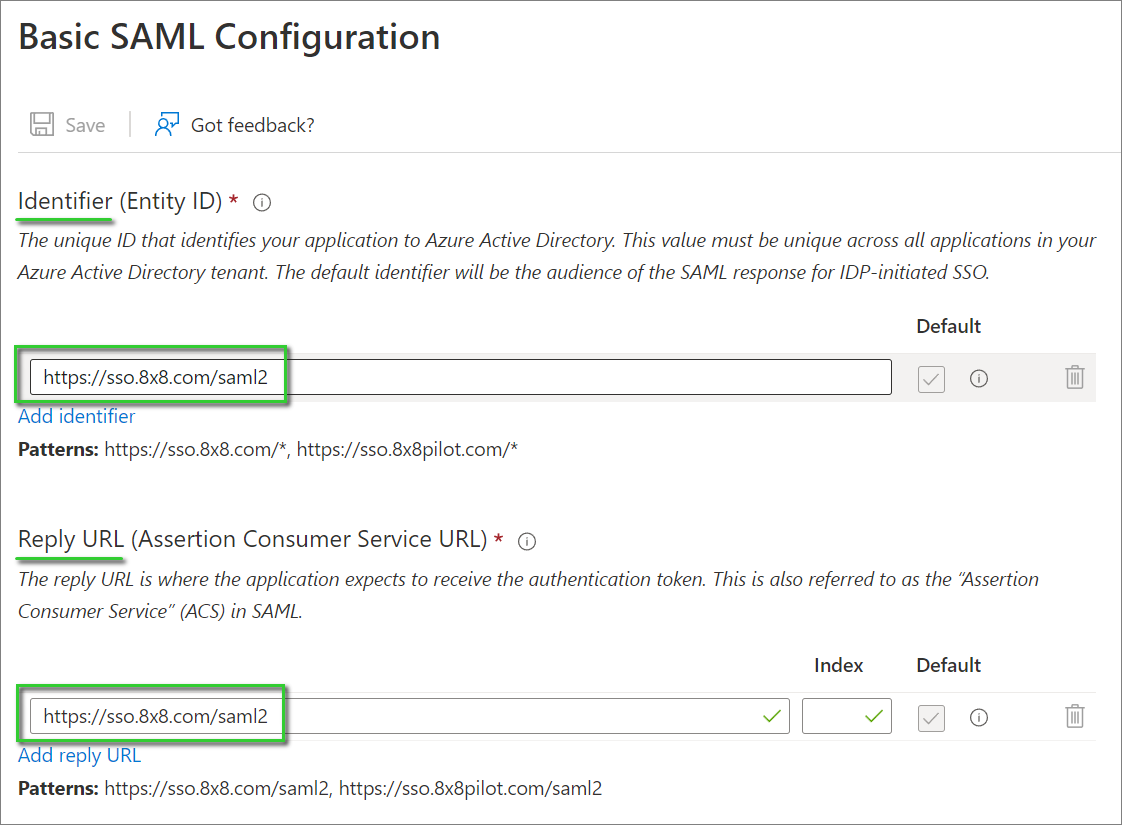
In Basic SAML Configuration, perform the following steps:
- In Identifier (Entity ID), click Add identifier.
- Add the following URL into the blank field. This entry should be marked as Default, and there should be no other Identifier entries.
- https://sso.8x8.com/saml2

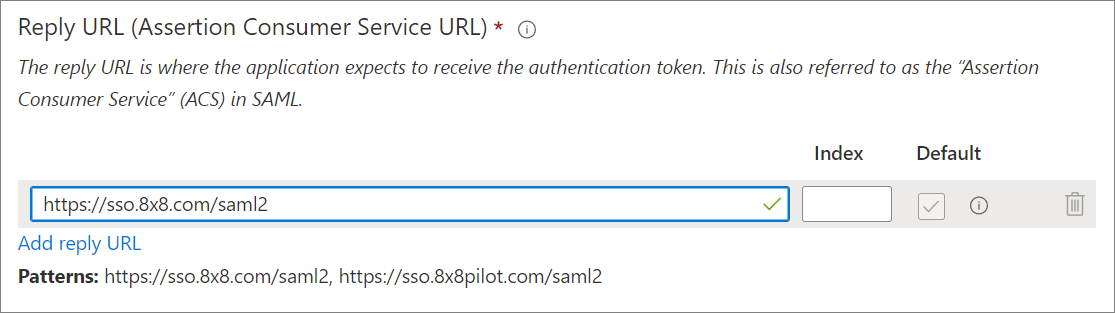
- In the Reply URL box, click Add reply URL.
- Enter the same URL as for the Identifier. This entry should be marked as Default, and there is no need to modify the Index field.
- https://sso.8x8.com/saml2
- Click Save.
Your Basic SAML Configuration should appear as in the screenshot below:
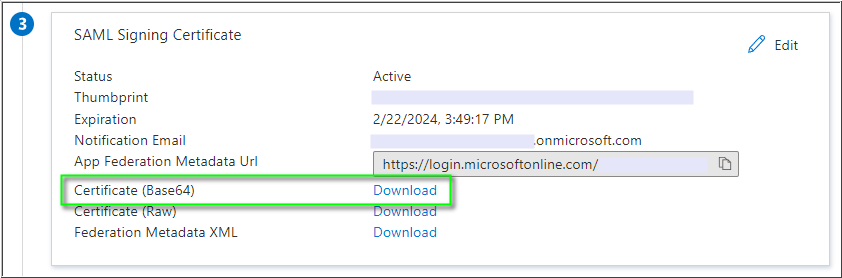
- Next, in SAML Signing Certificate > Certificate (Base64) click Download, and save the 8x8.cer certificate file onto your computer. You'll apply the certificate later, when configuring Single Sign-On in the 8x8 Admin Console.
- Critical: Use only the Base64 certificate for configuring Single Sign-On Integration in the 8x8 Admin Console. User single sign-on will fail if you apply other available certificate types.
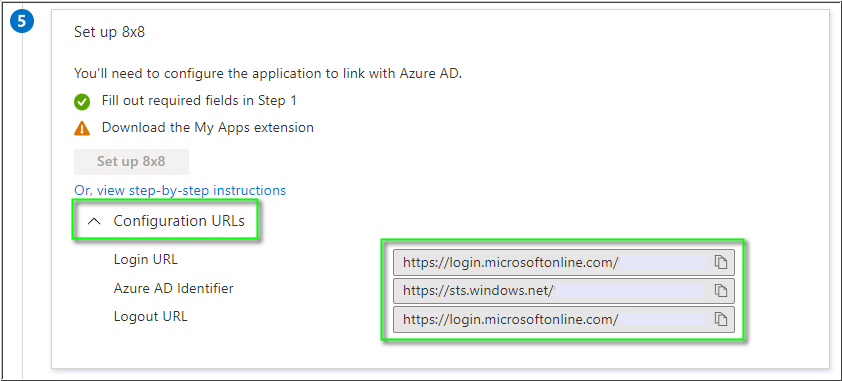
- In Set up 8x8, click on Configuration URLs to expand the section (as needed).
- Individually click the Copy to clipboard icon
for each of the URLs you will use, and paste them into a text editor. You'll need these URLs later, when configuring Single Sign-On Integration in the 8x8 Admin Console.
- Login URL
- Azure AD Identifier
- Logout URL
Important: The Logout URL is optional for 8x8 SSO. If it is applied in 8x8 Admin Console, users logging out of 8x8 services will also be logged out of all Microsoft services.
Important: If users or administrators receive a Microsoft error code AADSTS750054 during logout of any 8x8 application, replace the default tenant-specific Azure Logout URL in the Sign-out page URL field of your 8x8 Admin Console Configuration with the following URL:
- https://login.
microsoftonline.com/common/ wsfederation?wa=wsignout1.0
Assigning Azure AD Users
- In the Azure portal, select Enterprise applications, and then select All applications.
- In the applications list, click 8x8.
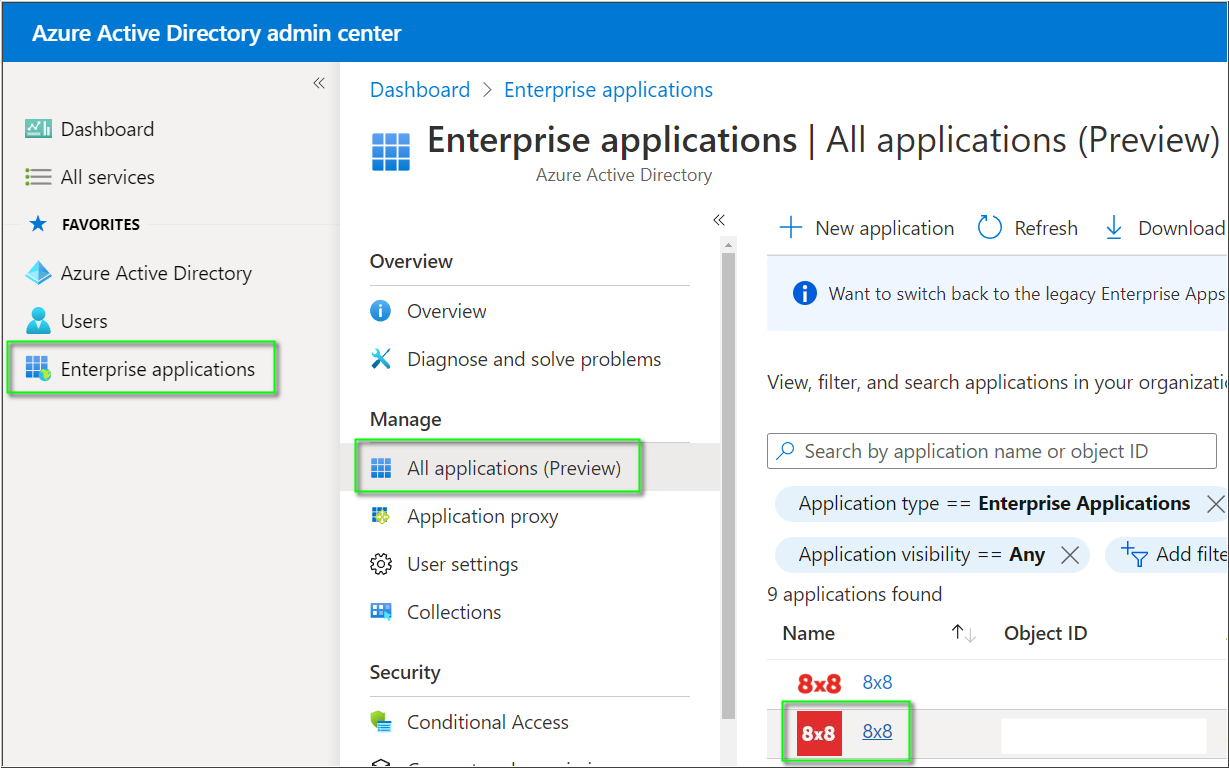
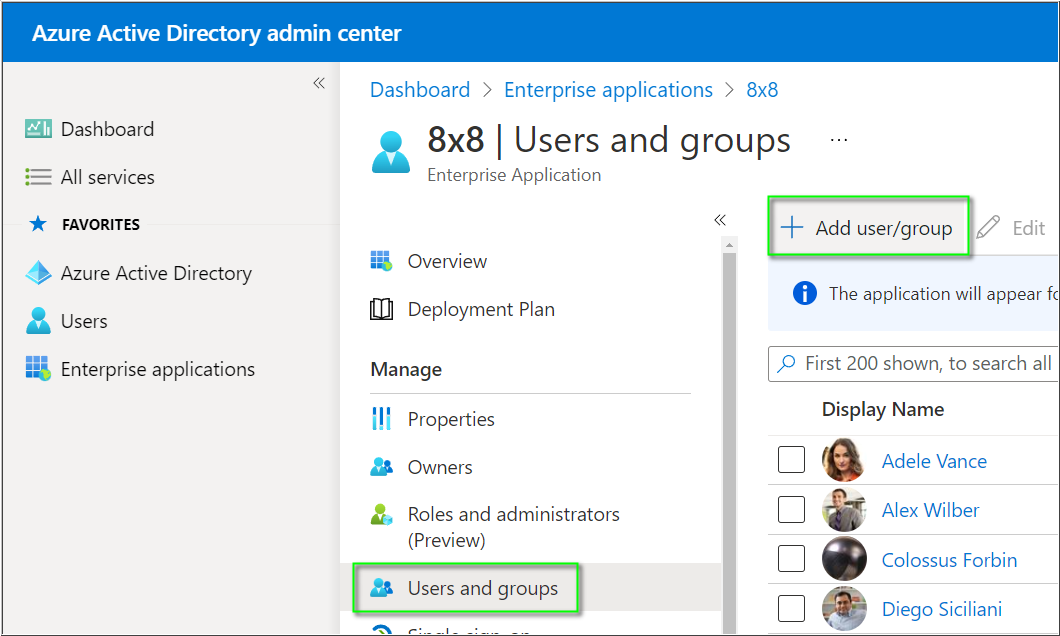
- In Manage, click Users and groups.
- Click Add user/group.
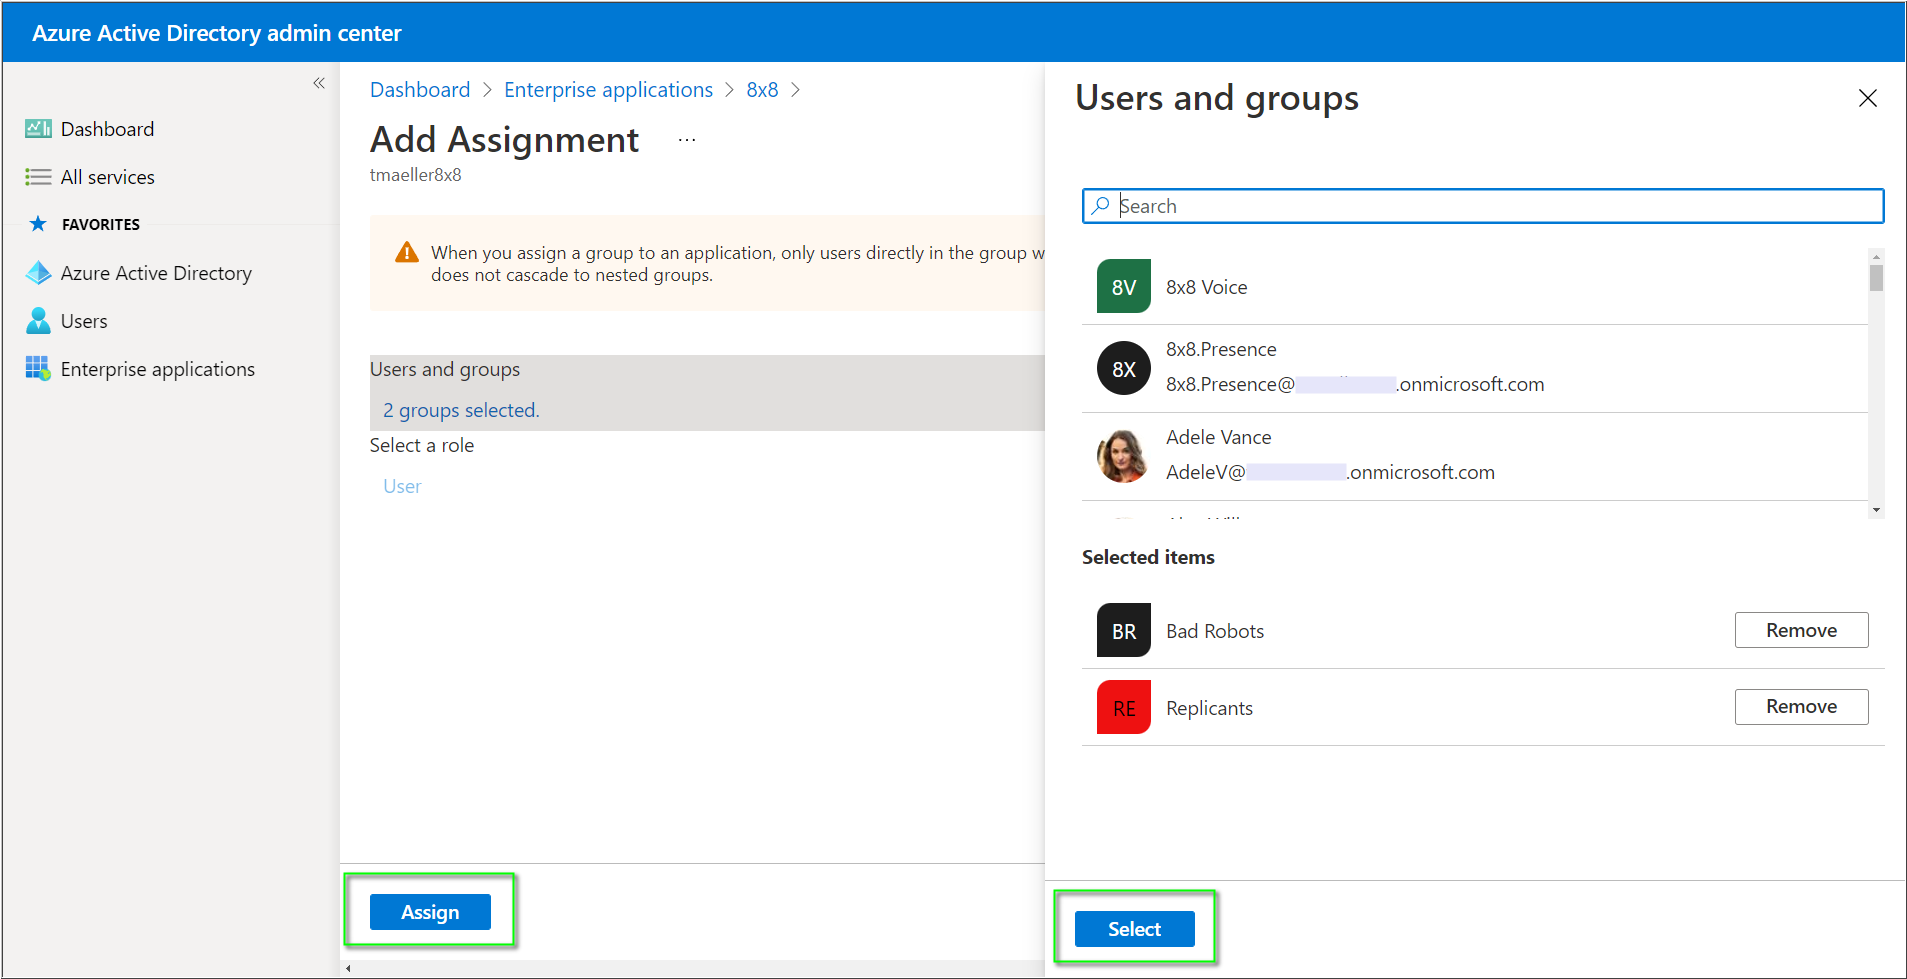
- Click None Selected to open the Users and groups selection dialogue.
- Click on the users and/or groups you wish to log into 8x8 services using SSO.
- Click Select and then Assign to complete the assignment of the 8x8 app to users/groups.
8x8 Admin Console Configuration
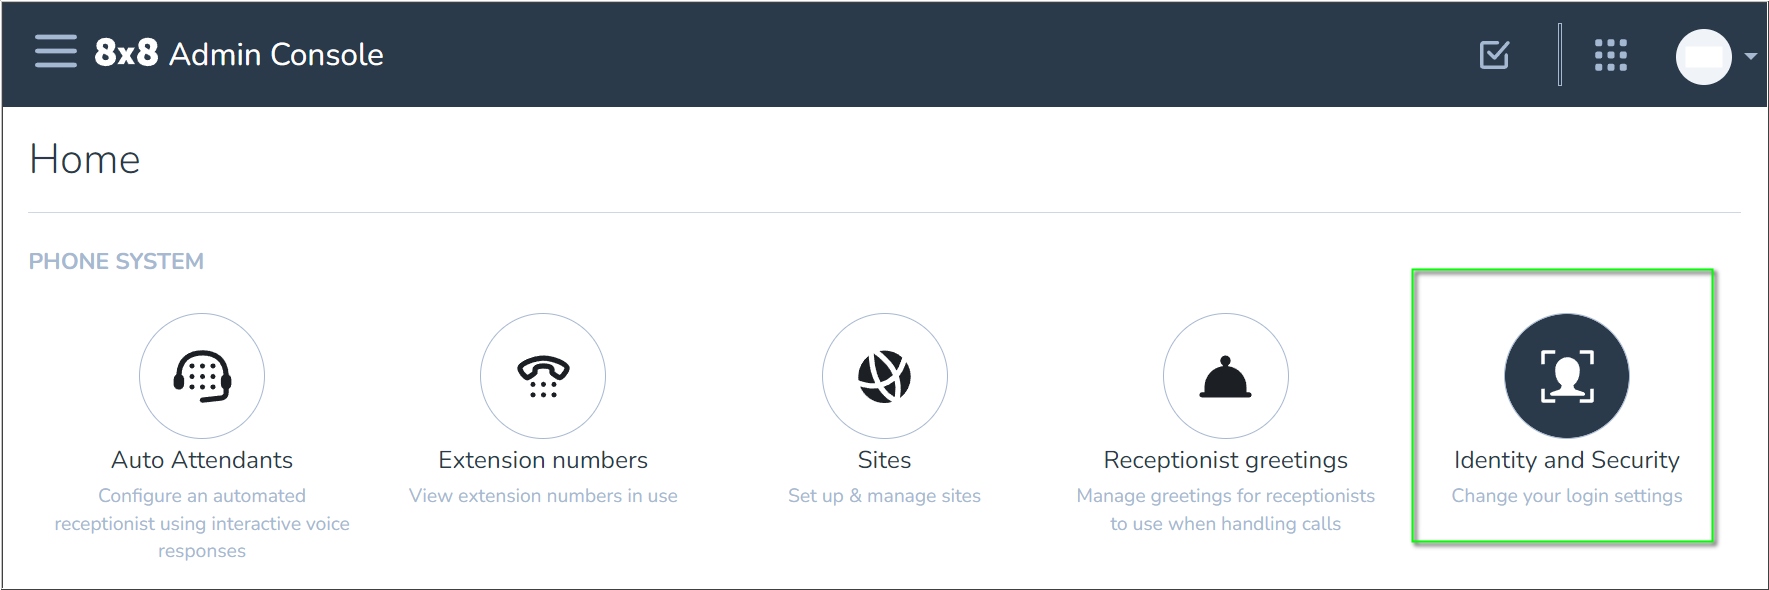
- First, log in to the 8x8 Admin Console.
- From the Home page, click Identity and Security.
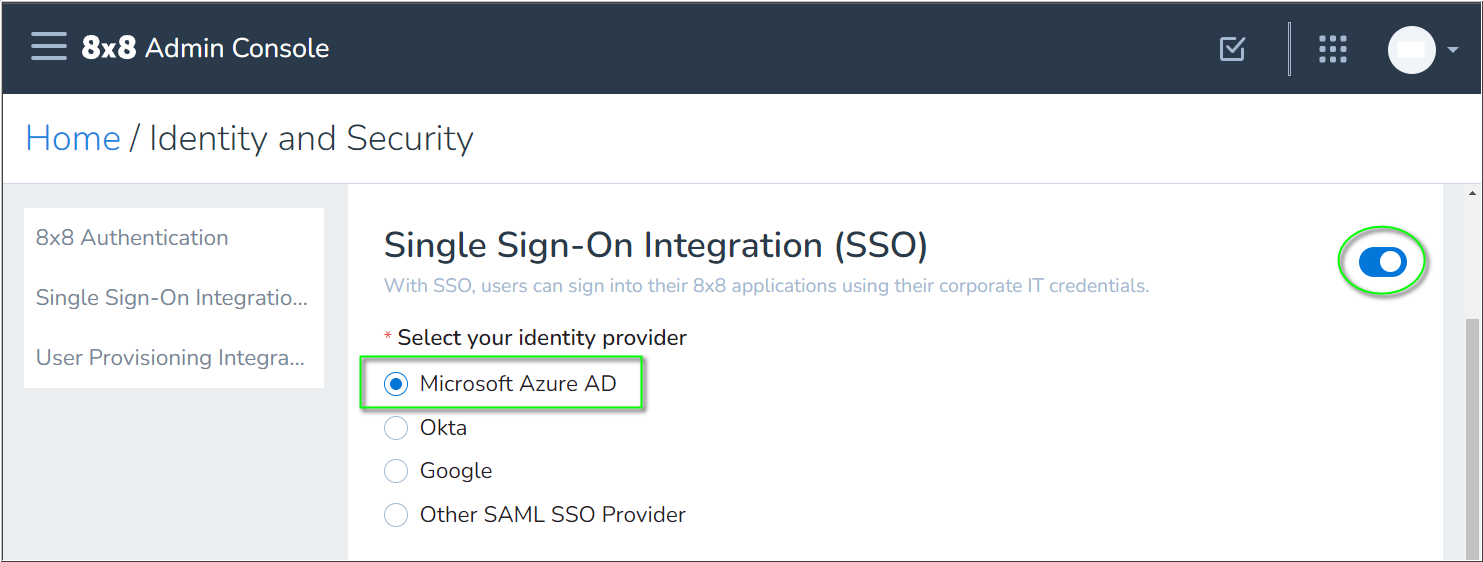
- In Single Sign-On Integration (SSO), click the slider to enable
 SSO integration.
 - Select Microsoft Azure AD.
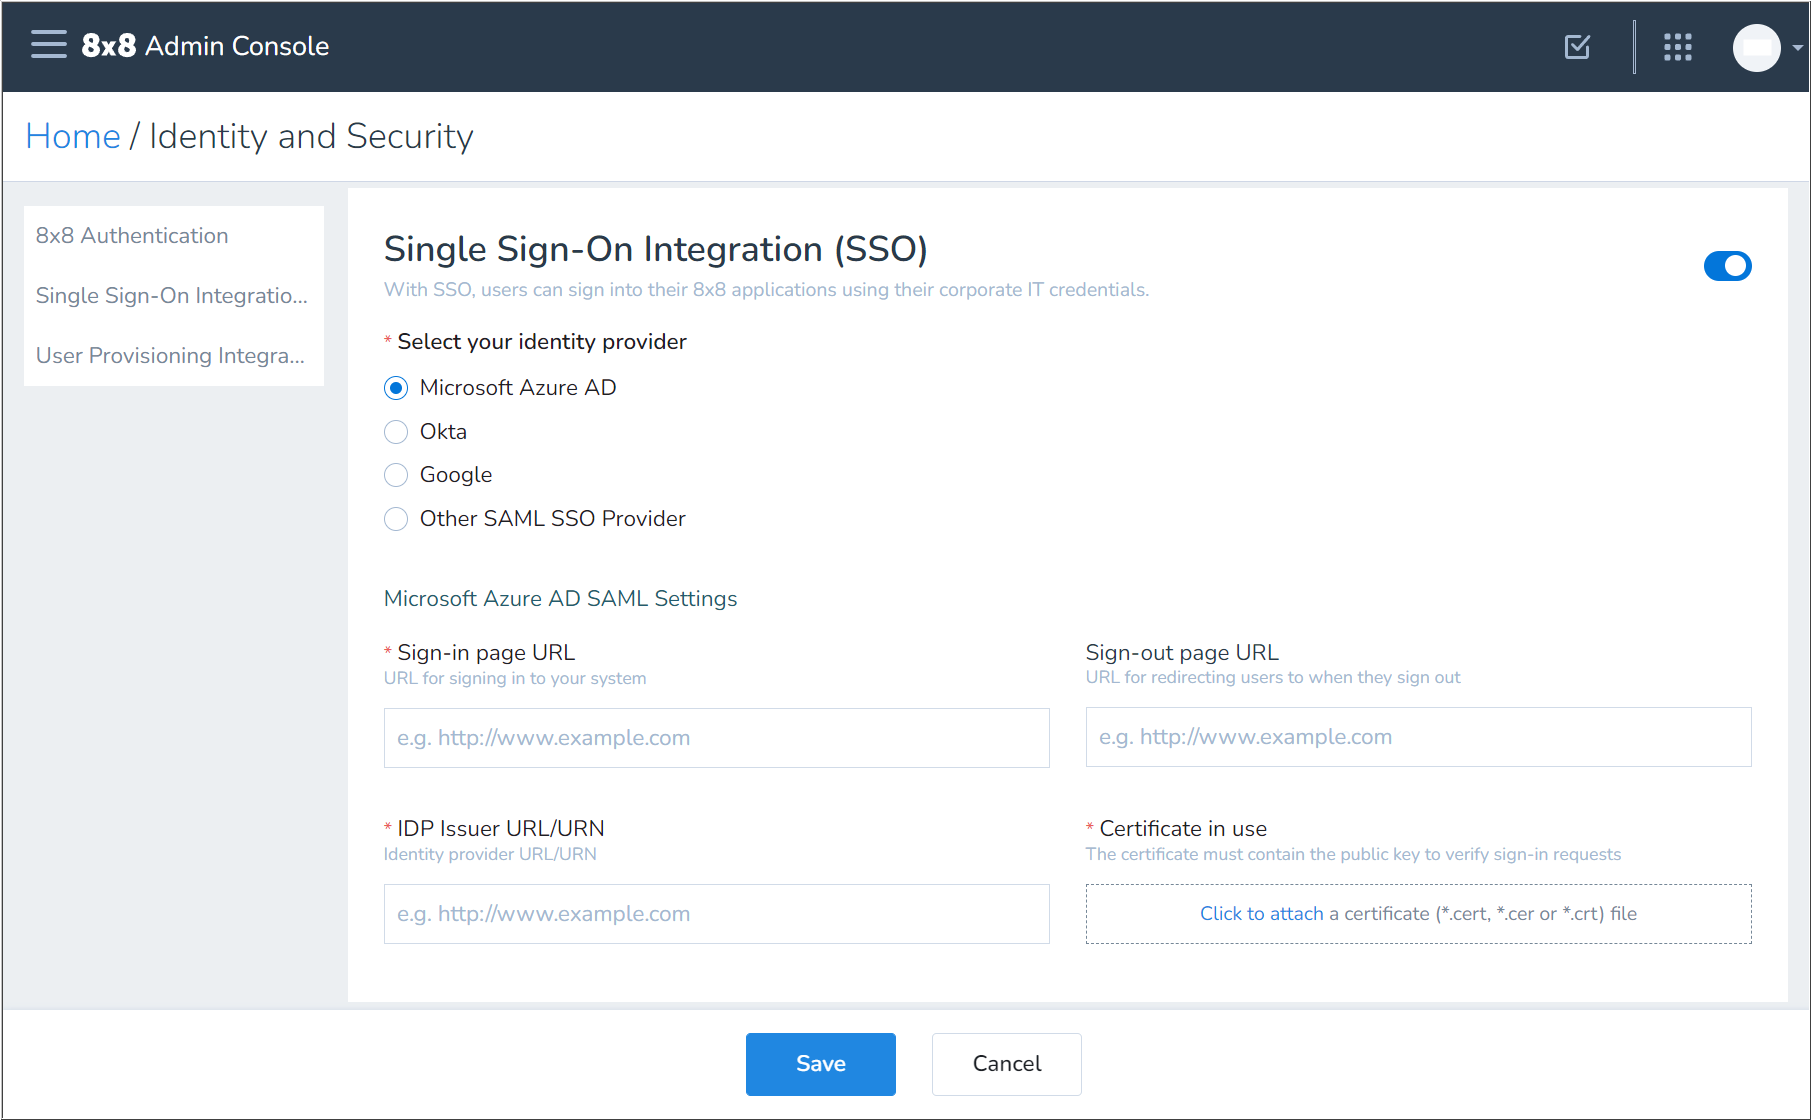
- Now you'll apply the URLs and signing certificate that you previously obtained from the 8x8 app in Azure:
- Copy and paste the Azure Login URL to the 8x8 Sign-in page URL field.
- Copy and paste the Azure Azure AD Identifier to the 8x8 IDP Issuer URL/URN field.
- (Optional) Copy and paste the Azure Logout URL to the 8x8 Sign-out page URL field.
- In Certificate in use, click on Click to attach and select the Base64 certificate file that you previously downloaded from Azure.
- Click Save to apply your 8x8 SSO configuration.
Important: If users or administrators receive a Microsoft error code AADSTS750054 during logout of any 8x8 application, replace the default tenant-specific Azure Logout URL in the Sign-out page URL section with the following URL:
- https://login.
microsoftonline.com/common/ wsfederation?wa=wsignout1.0
User Provisioning Configuration (SCIM)
Below are instructions for configuring user provisioning from Microsoft Azure AD to 8x8 Admin Console.
User provisioning (SCIM) from Azure to 8x8 is not required, but aids in user administration. Without this automated user provisioning, administrators must manually create and manage users in both Azure and 8x8 Admin Console.
IMPORTANT:
New users provisioned through any SCIM process – such as through Azure or Okta – must be manually assigned an 8x8 X Series license in the 8x8 Admin Console. The SCIM user provisioning process does not apply X series licenses to users.
ALSO:
New users who are provisioned through SCIM will not automatically be made visible in the Company directory. This must also be manually configured for the user(s) in the 8x8 Admin Console.
8x8 Admin Console
- First, log in to the 8x8 Admin Console.
- From the Home page, click Identity and Security.

- In User Provisioning Integration (SCIM), click the slider to enable
 SCIM integration.
 - Select Microsoft Azure AD.
- In the Microsoft Azure AD User Provisioning section, click the Copy button
 for each of the following sections and paste the copied information into a text editor. You'll apply this information in Azure to enable provisioning of users to 8x8:
- 8x8 URL
- 8x8 API Token
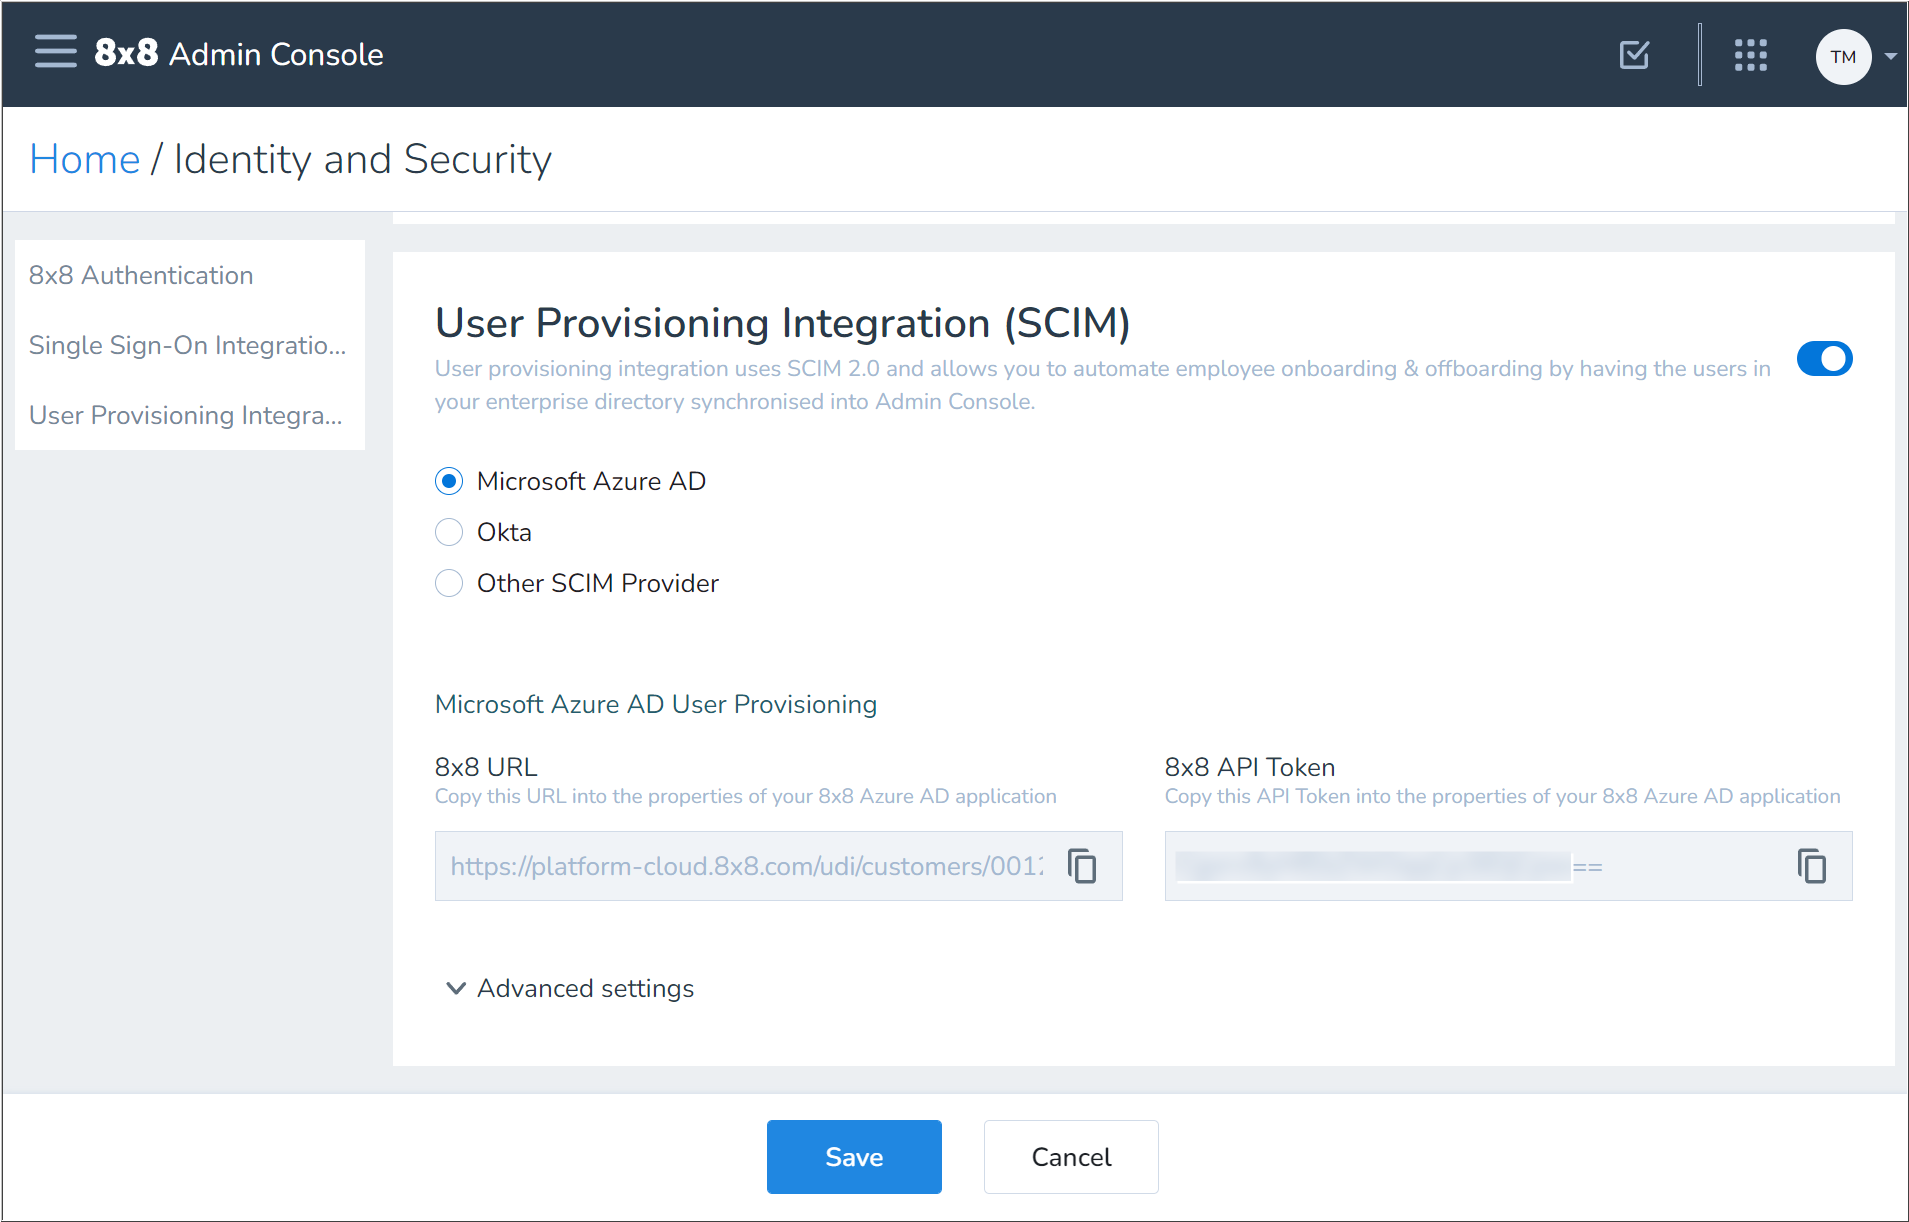
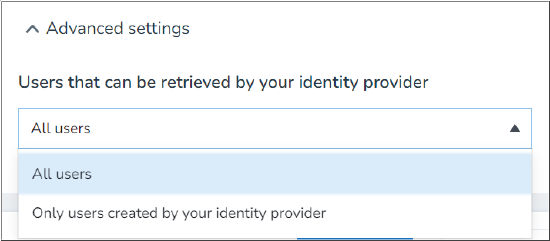
- Click Advanced settings to expand that section.
- Click the drop-down menu and select the appropriate user retrieval option:
- All users
- Retrieves users created in and synced from Azure and users created directly in 8x8 Admin Console, thereby allowing Azure to take control of 8x8 user profiles if the login IDs in both locations are identical.
- Only users created by the identity provider
- Limits user retrieval to only those users created in and synced from Azure.
- All users
- Click Save to complete your changes in the 8x8 Admin Console.
Azure Active Directory
- Return to the Azure Active Directory admin center.
- Navigate to the Provisioning blade of your installed 8x8 app.
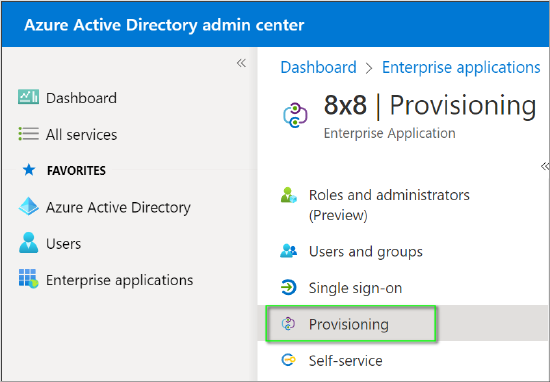
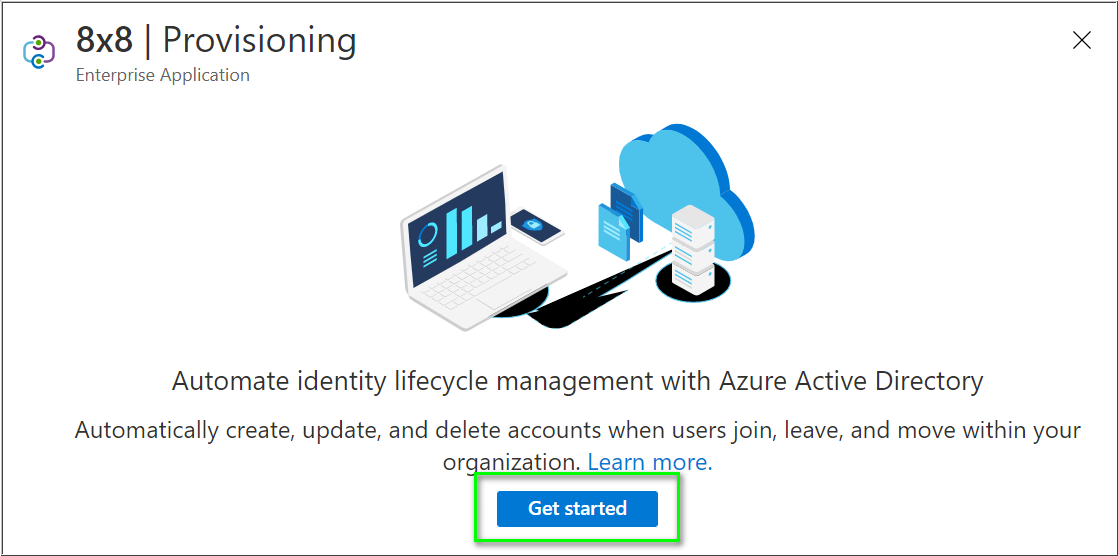
- Click Get started.
- Change the Provisioning Mode to Automatic.
- Paste the 8x8 URL value you copied from 8x8 Admin Console in the previous section into the Tenant URL field.
- Paste the 8x8 API Token value you copied from 8x8 Admin Console in the previous section into the Secret Token field.
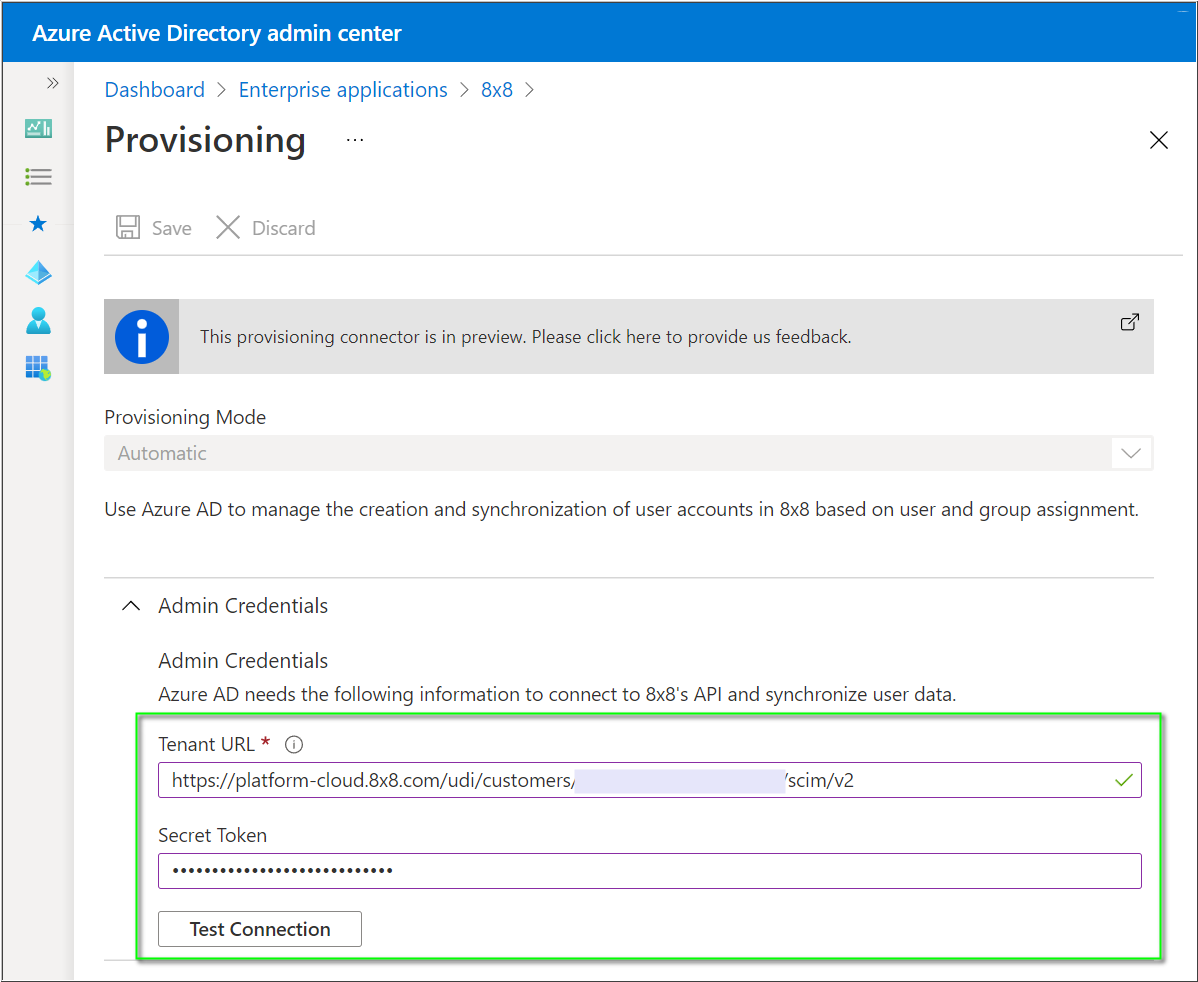
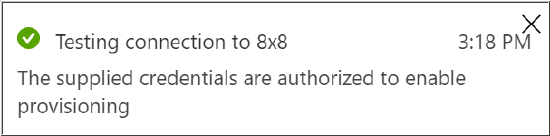
- Click Test Connection. You should receive a success confirmation message.
- Click Save to complete this configuration.
User Provisioning Configuration Options
Create a user
To create a user in 8x8, assign them to the 8x8 App. New users will appear in Admin Console when the next Azure AD sync cycle runs.
Note: 8x8 recommends that each AD user to be assigned to 8x8 has their Office attribute (physicalDeliveryOfficeName) set to the name of the 8x8 Site they belong to. For this, you can simply copy the site name from Admin Console into.
Note: Azure AD provisioning activity typically runs on a 40 minute cycle. Please allow one hour between assigning a user to the 8x8 app before the user appears in Admin Console.
Any unlicensed 8x8 users are visible along with their contact number to the licensed users in their corporate directory. If you do not intend to assign an 8x8 license to the created user then no further action is required.
To configure a user with an X Series service you must sign into Admin Console and assign an X Series license to the user. Then edit the user individually , or in bulk, using the Edit feature.
User changes
Whenever an Azure AD user that has been assigned to the 8x8 app is updated, Azure AD automatically pushes any changes to 8x8.
Deactivate and activate a user
If a user has their Block sign in (isSoftDeleted) attribute set to Yes in Azure AD, they are deactivated in 8x8 and are no longer able to make or receive phone calls (except Emergency calls). They are also not able to log in to any applications. Existing login sessions expire within half an hour. The user is not deleted and they retain their X Series license and settings.
When you unblock a sign-in for a user in Azure AD it also re-activates that user in 8x8.
Delete a user
Deleting a user in Azure AD is a two-stage process:
- Initial deletion is a soft-delete which moves the user to the “Deleted users” blade in Azure AD. This causes the user to be deactivated in 8x8 (This is similar to blocking sign-in from Azure AD).
- When a user is fully deleted from Azure AD, nothing further happens to the 8x8 user. If the user had not already been deactivated, then the user is deactivated at this point, but not deleted. It is not possible to delete an 8x8 user via the integration, you need to do this individually in Admin Console.
Administration restrictions in 8x8 Admin Console
When a user is created in 8x8 via the Azure AD app, 8x8 considers the user to be owned by Azure AD. This activates some administration restrictions in Admin Console, specifically preventing any changes to the key user attributes that are mastered in AD:
- Username
- First name
- Last name
- Email address
- Deactivation and Activation
These restrictions are there to ensure your 8x8 users do not become out of sync with Azure AD.
Unassign users from the 8x8 app
When a user is unassigned from the 8x8 app in Azure AD, they are deactivated in the 8x8 app but not deleted.
Link an existing 8x8 user to Azure AD
If you create a user in 8x8 Admin Console directly, and there is an equivalent user in Azure AD, then assigning the Azure AD user to the 8x8 app in Azure AD is enough to link them providing the following criteria are met:
- Their Username in Admin Console matches their User name (userPrincipalName) in Azure AD.
- Upon initial assignment to the 8x8 app, Azure AD checks if the user’s attributes are in sync and updates the 8x8 user accordingly. At this point, Admin Console considers the user to be owned by Azure AD and prevents any changes to those attributes that are mapped from Azure AD. This restriction avoids data inconsistency by enforcing that changes are only made to the master data source of the user.
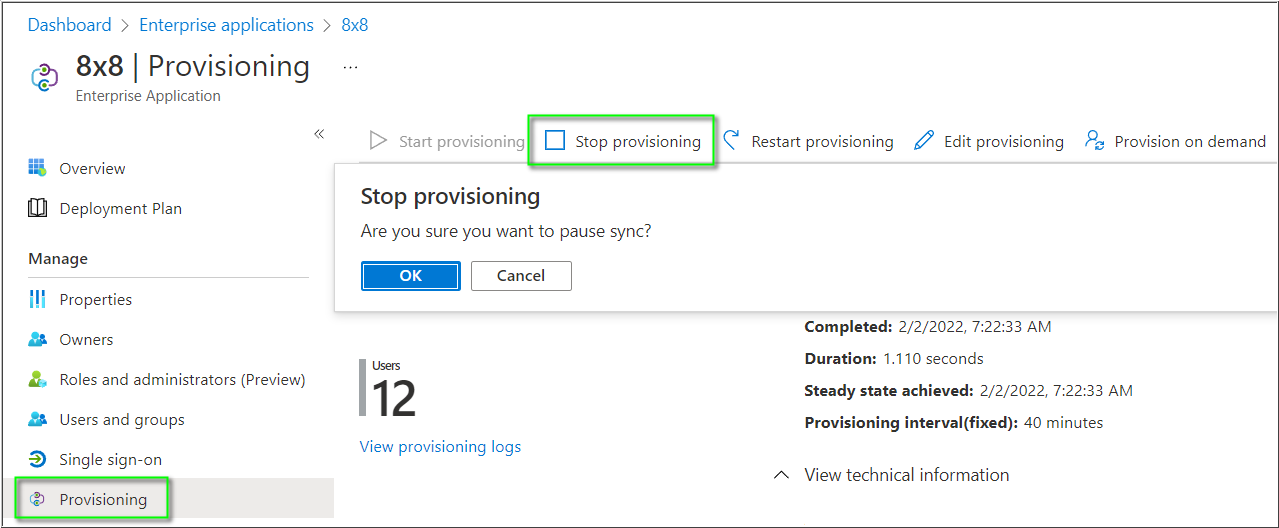
Disable the integration
If you want to temporarily disable the integration, navigate to the app in Azure AD. Click Stop provisioning and OK to confirm.
Site
Each 8x8 user created through the 8x8 Azure AD app must be associated with a Site before they can be assigned an X Series license. To do this, you need to ensure that the Office (physicalDeliveryOfficeName) attribute contains the exact name of one of your Sites from Admin Console.
In the default installation, Site is set from the Office (physicalDeliveryOfficeName) attribute in AD, but you can change this in app mappings to suit your AD environment if required.
If your 8x8 installation has only one Site, you can opt to hard-code its name in the 8x8 application's attribute mappings using a “Constant” mapping type. This avoids the need to set the Office (physicalDeliveryOfficeName) attribute for each user.
Note: A user's site cannot be modified once it is set.
Note: If you change the name of any of your Sites in 8x8 Admin Console, the synchronization of users is broken until their Office (physicalDeliveryOfficeName) attribute matches in AD.
Contact numbers
In the default installation, the AD user’s Office phone (telephoneNumber) and Mobile phone (mobile) attributes are passed to 8x8 as contact numbers and will be displayed to other 8x8 users in the following places:
- Company directory of 8x8 Work for Desktop and Mobile
- Contact Center directory
- Switchboard Pro directory
Note: Contact numbers are not displayed in the directory of physical desk phones.
User Provisioning Attribute Mappings
Default attribute mappings
This table shows the default set of attribute mappings for user provisioning.
| Azure AD Attribute | Azure AD Portal Name | System for Cross-domain Identity Management (SCIM) Attribute |
8x8 Admin Console Name |
|---|---|---|---|
| userPrincipalName | User name | userName | Username |
| objectID | Object ID | externalId | Not visible in Admin Console |
| Not visible in AD portal | emails[type eq "work"].value | ||
| Not([IsSoftDeleted]) | Block sign in | active | User is greyed out |
| Last name | First name | name.givenName | givenName |
| First name | Last name | name.familyName | surname |
| jobTitle | Job title | title | Job title |
| department | Department | urn:ietf:params:scim:schemas:extension:enterprise:2.0:User:department | Department |
| mobile | Mobile phone | phoneNumbers[type eq "mobile"].value | Personal contact number |
| telephoneNumber | Office phone | phoneNumbers[type eq "work"].value | Not visible in Admin Console |
| physicalDeliveryOfficeName | Office | urn:8x8:scim:schemas:extension:8x8user:2.0:User:site | Site |
Advanced attribute mappings
This table displays additional attributes that are available but not mapped by default. Instructions for configuration of advanced mappings is outside the scope of this guide.
| System for Cross-domain Identity Management (SCIM) Attribute |
Suggested Azure AD attribute | Notes |
|---|---|---|
| locale | PreferredLanguage | PreferredLanguage may be set through the AzureAD powershell module |
| timezone | User extension attribute |