Email in External CRM for Salesforce: Configuring in Lightning Mode
Objective
Email in External CRM provides email-to-case functionality for Salesforce in the Contact Center integration (Agent Workspace, MAPanel 2.0). This allows Contact Center agents to not only receive and process emails as usual, it enables the storing of email messages and email chain activity into Salesforce cases.
This article provides a walkthrough for configuring the Email in External CRM feature in Salesforce Lightning mode.
IMPORTANT: This process requires the creation of four new fields in Salesforce, two in the Case object and two in the Email Message object. The suggested configuration will effectively disable the manual creation of Salesforce cases, and also disables the sending of email messages directly from cases.
Applies To
- 8x8 Contact Center
- Salesforce
- Agent Workspace
- MAPanel 2.0
Procedure
In this guide, you’ll first confirm and/or enable a few important options, and then you’ll create four new custom fields in critical Salesforce objects.
Confirm and Enable Key Features
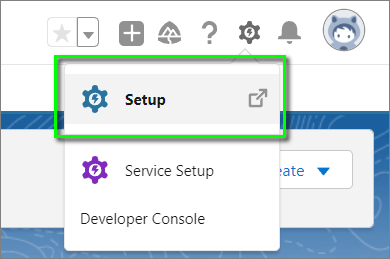
- In Salesforce at the top-right, go to the gear icon and click Setup.
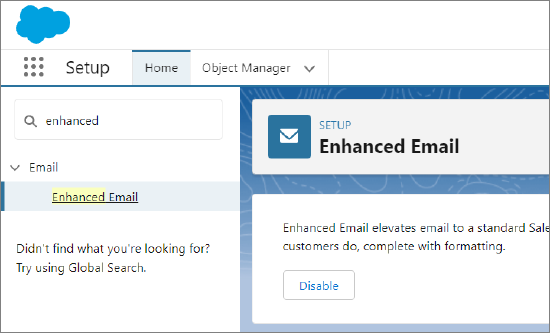
- At the top-left, search for enhanced and click on Enhanced Email.
- Perform one of the following:
- If the Disable button is present, proceed to the next step.
- If the Enable button is present, click Enable and then proceed to the next step.
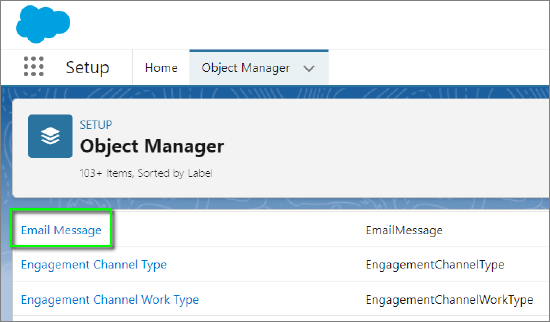
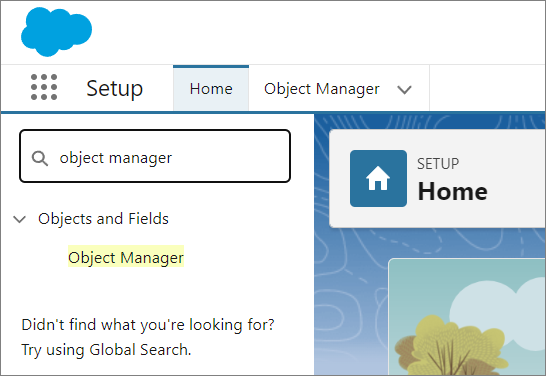
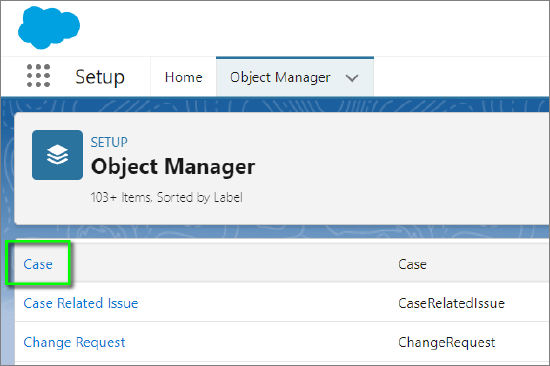
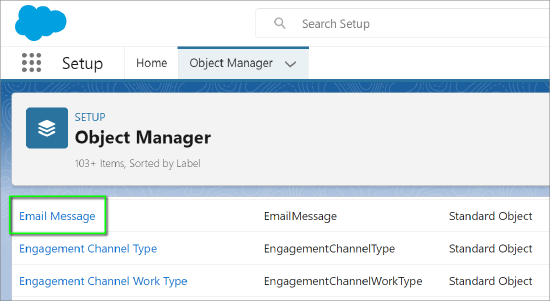
- Search for and click on Object Manager.

- Scroll down and verify that the Email Message object appears. You’ll add two new custom fields to this, later.
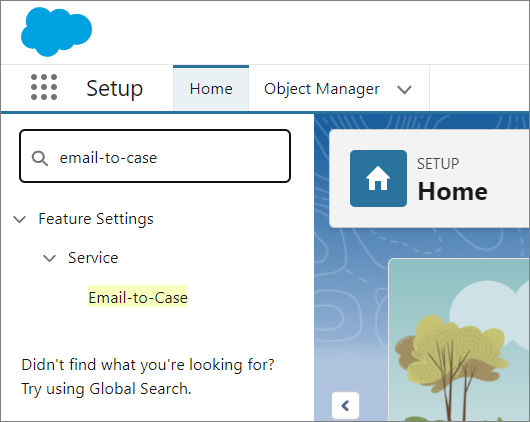
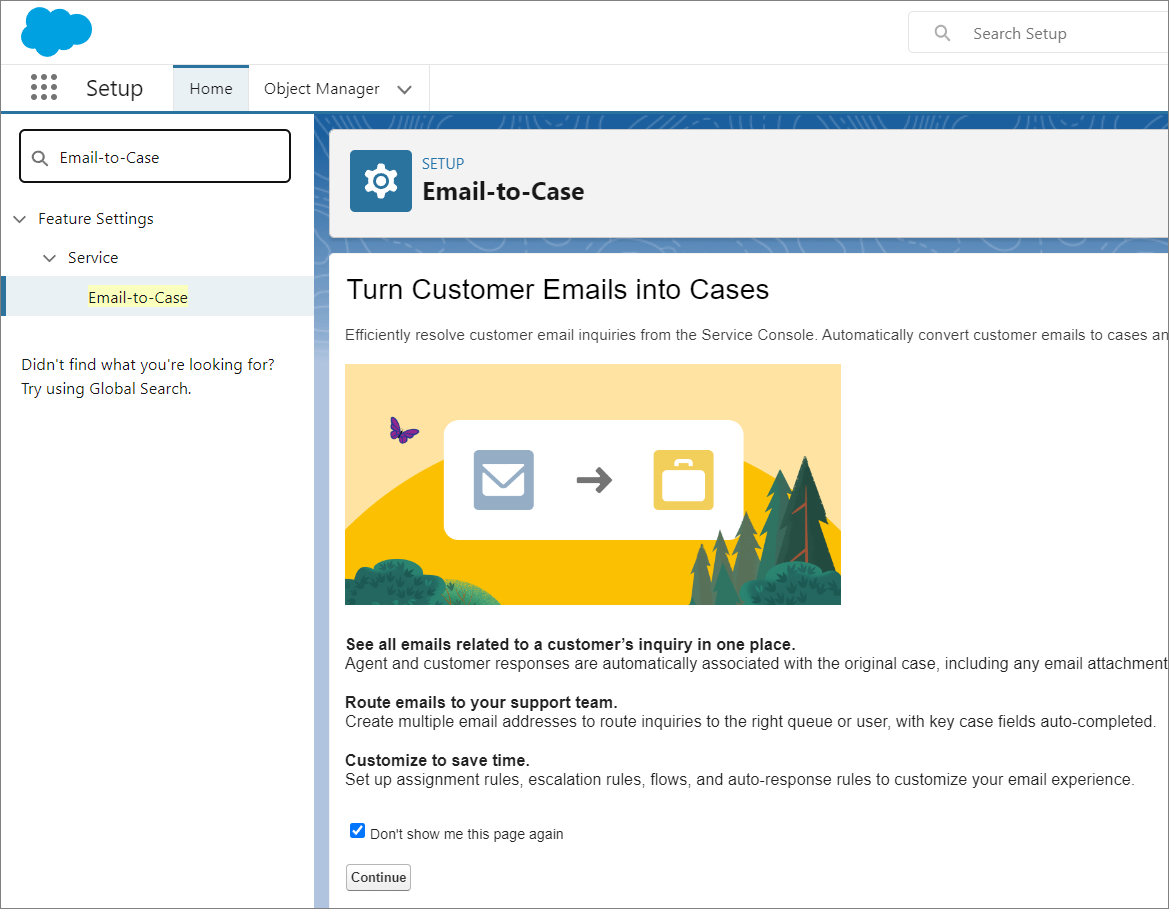
- In the Setup > Quick Find field again, search for and click on Email-to-Case.
- Click Continue at the bottom of the page, if needed.
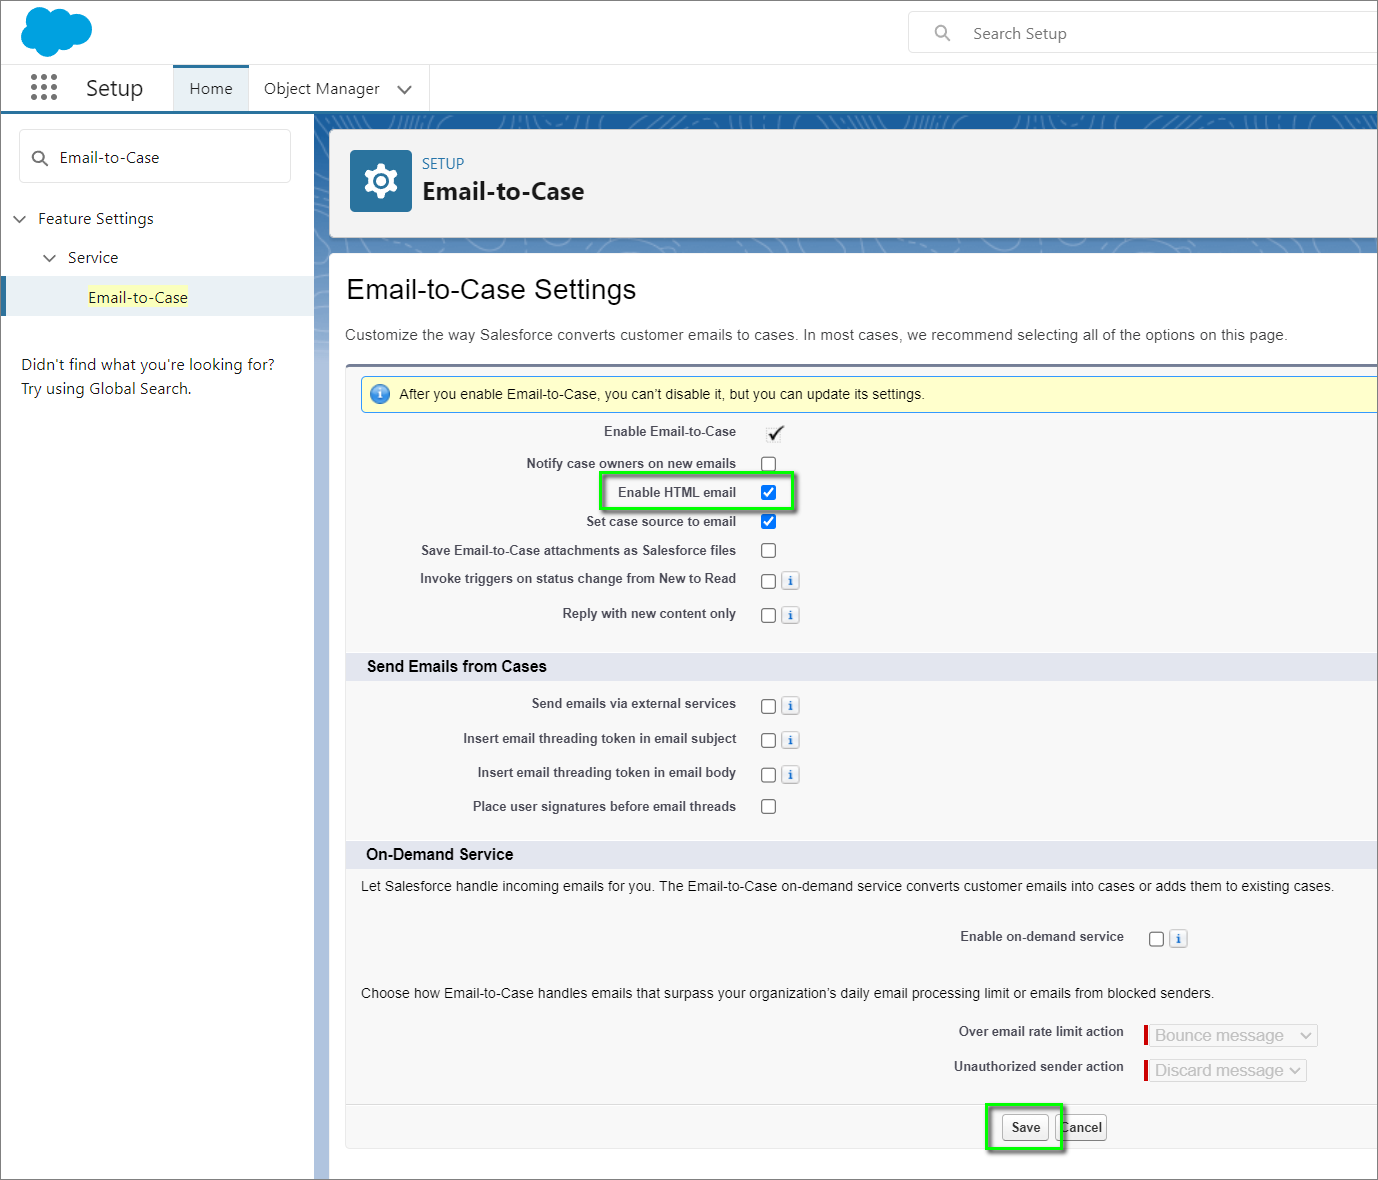
- Select/check Enable HTML email, and click Save. Other options are not required for this 8x8 product.
- Note: The setting Enable Email-to-Case does not have any bearing on this integration feature, regardless of its configured state.
Create Two New Custom Fields for the Case Object
New Custom Field: MainNumber
| Field Name | API Name | Data Type |
|---|---|---|
|
MainNumber |
MainNumber__c |
Text(255) (Required) |
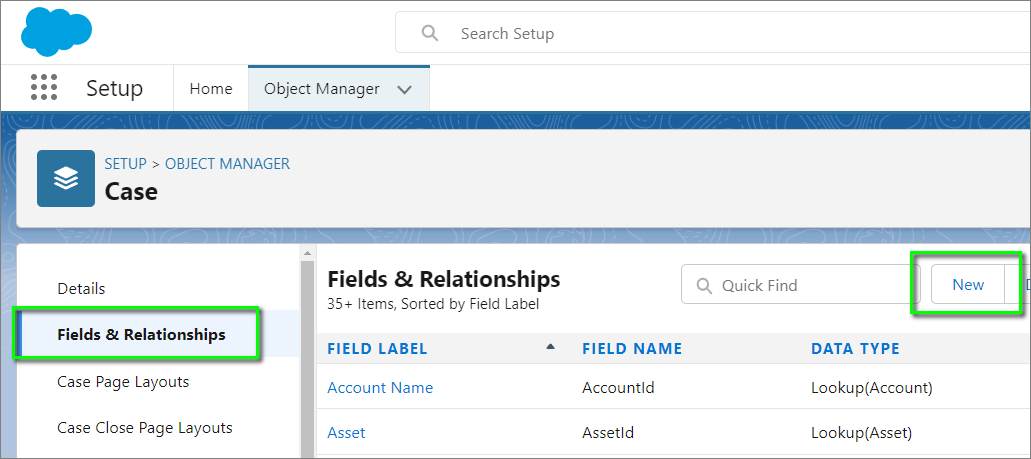
- Return to Setup > Quick Find, and search for and click on Object Manager.
- Scroll down to and click on Case.
- Click on Fields & Relationships.
- Click New.
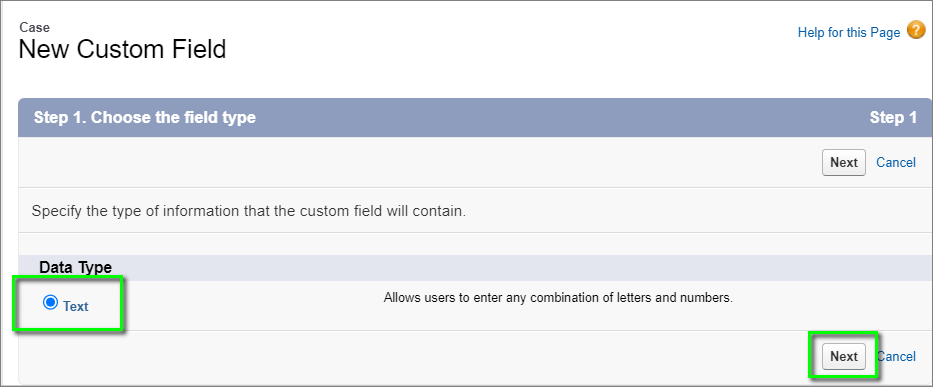
Step 1. Choose the field type
- Select Text and click Next.
- Note that this screenshot is significantly cropped. There are many more options available.
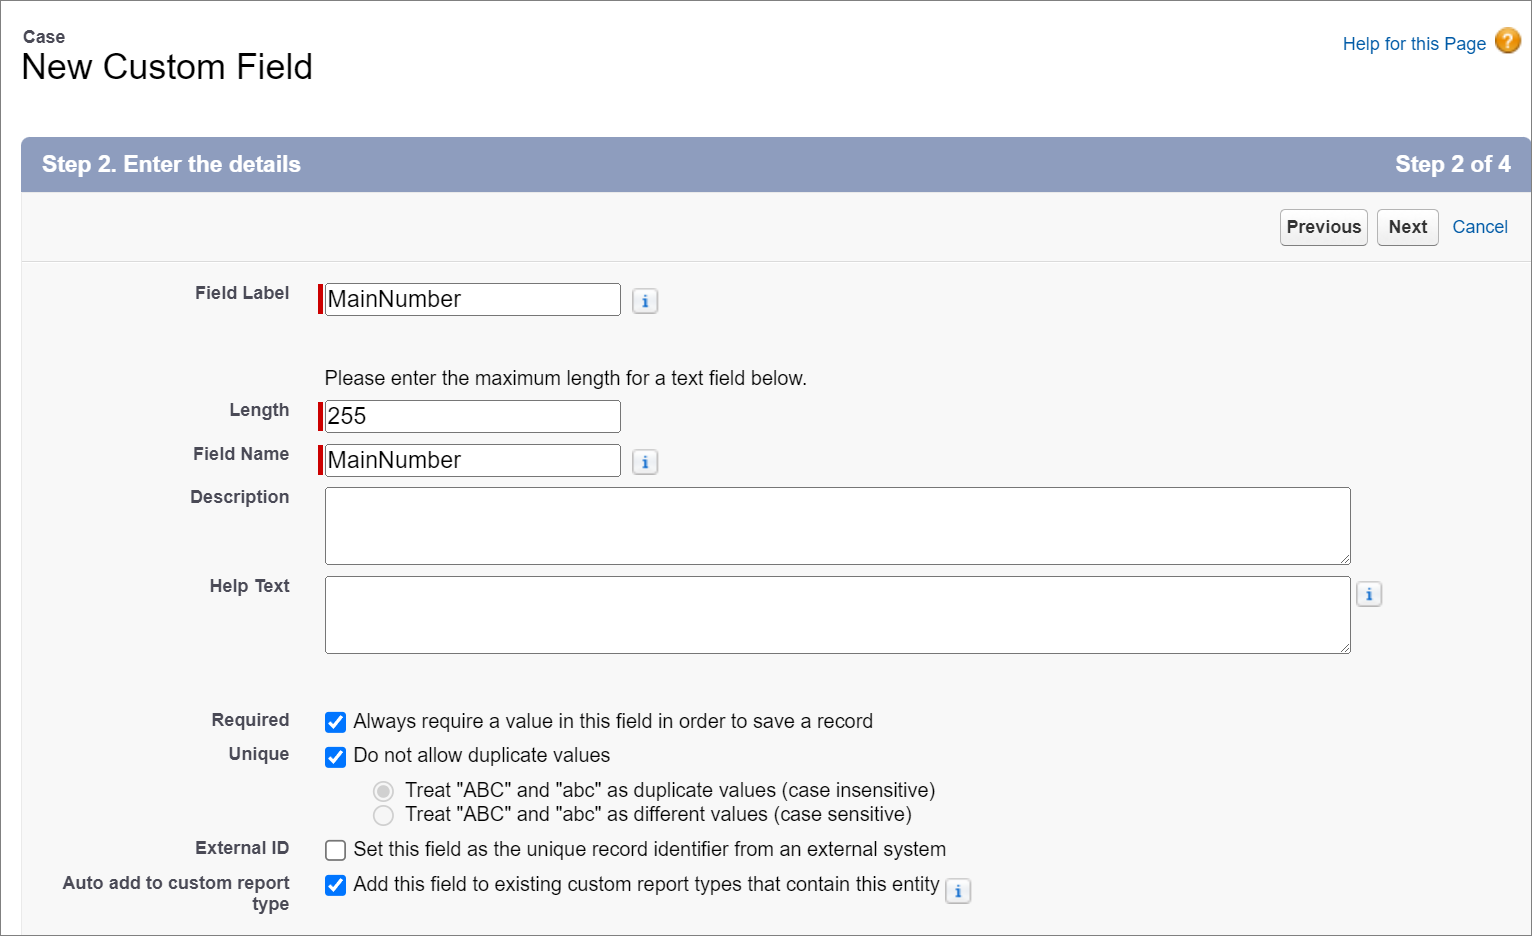
Step 2. Enter the details
- Enter the following text in their respective fields
- Field Label: MainNumber
- Length: 255
- Field Name: MainNumber
- Enable/check the following options:
- Required
- Unique
- Click Next.
Important: The purpose of enabling the Required option both in Case > MainNumber and in Email Message > MainNumber is to prevent Contact Center agents from bypassing the 8x8 MAPanel functionality (and therefore Contact Center analytics reporting) by either manually creating new cases and sending emails directly from cases instead of using the 8x8 MAPanel.
These Required options can be disabled/unchecked without affecting normal functionality of the MAPanel, but this is not recommended. Case and email creation outside of the 8x8 MAPanel operation will not be reflected in 8x8 Contact Center analytics data.
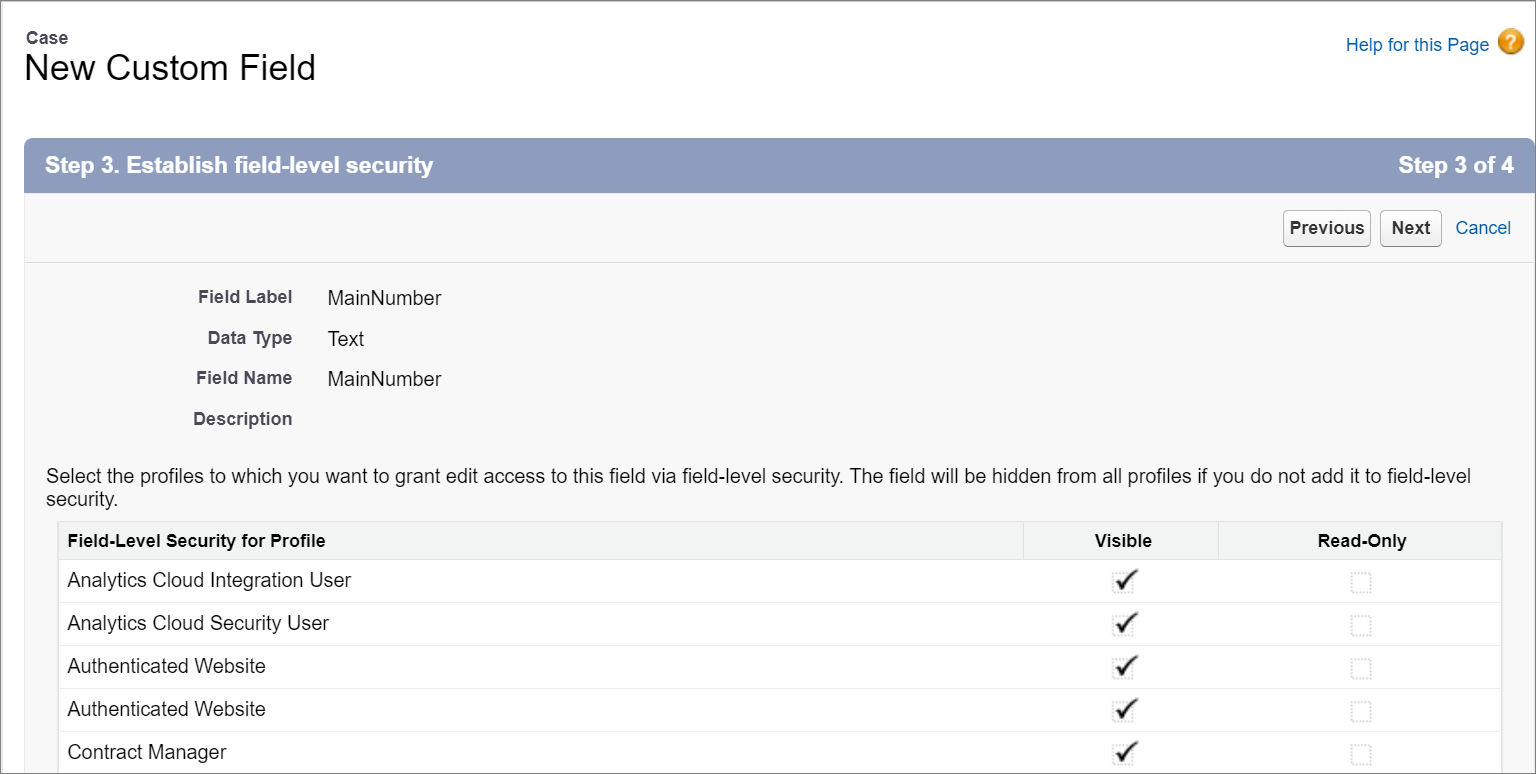
Step 3. Establish field-level security
- Confirm the field-level security for the listed Profile types and click Next.
- Be sure to select Visible for the profile types of users who will access this integration functionality.
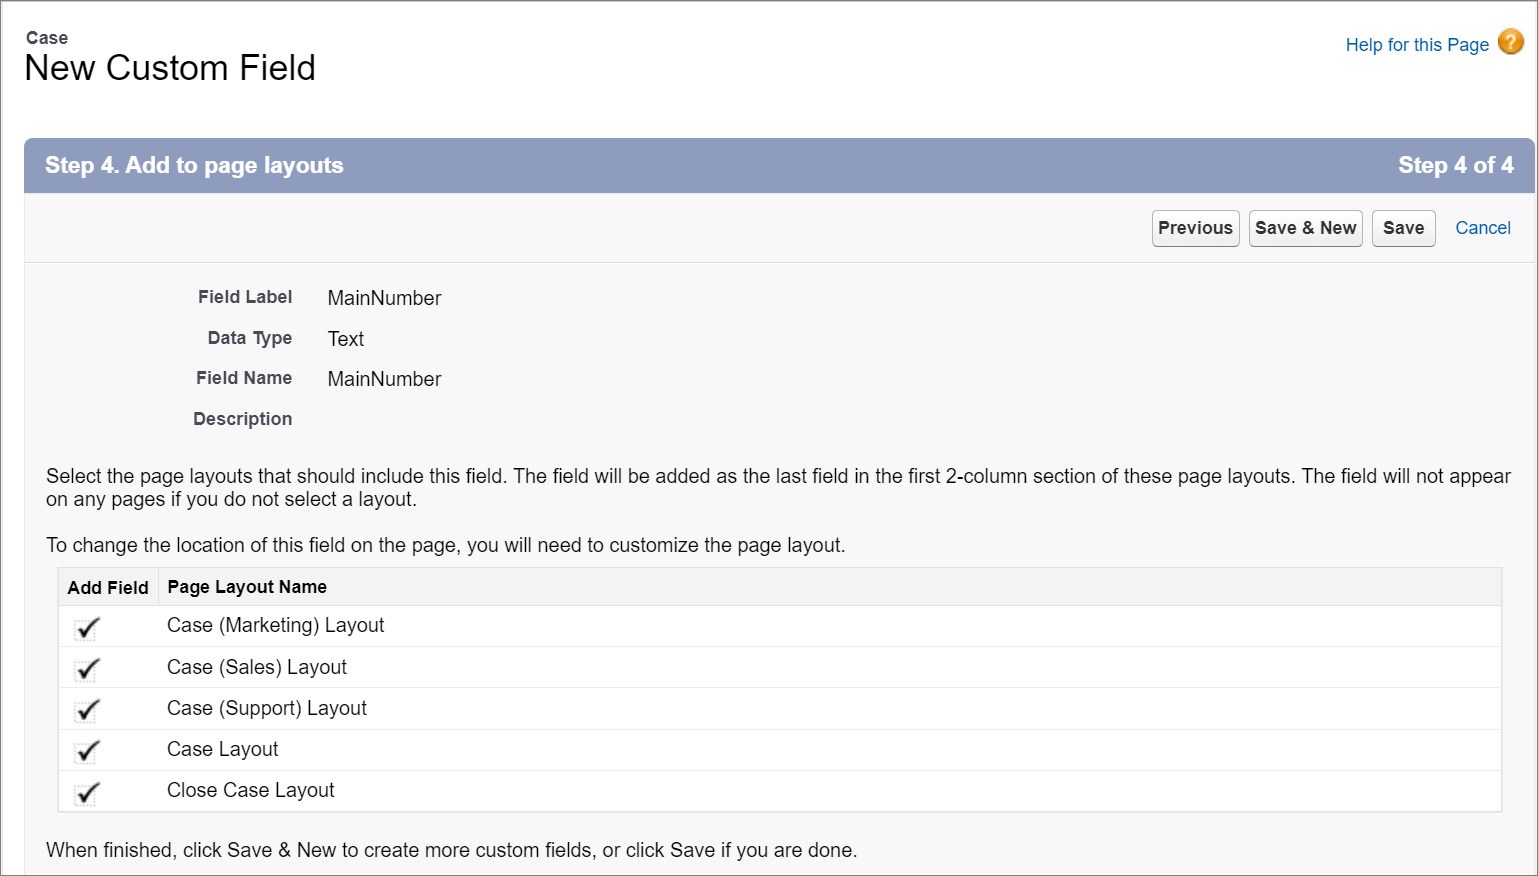
Step 4: Add to page layouts
- Select or deselect the Page Layout Names appropriate to your needs.
- Click Save & New to begin creating another custom field.
New Custom Field: Lead
| Field Name | API Name | Data Type |
|---|---|---|
|
Lead |
Lead__c |
Lookup |
Step 1. Choose the field type
- This time, select Lookup Relationship.
- Click Next.

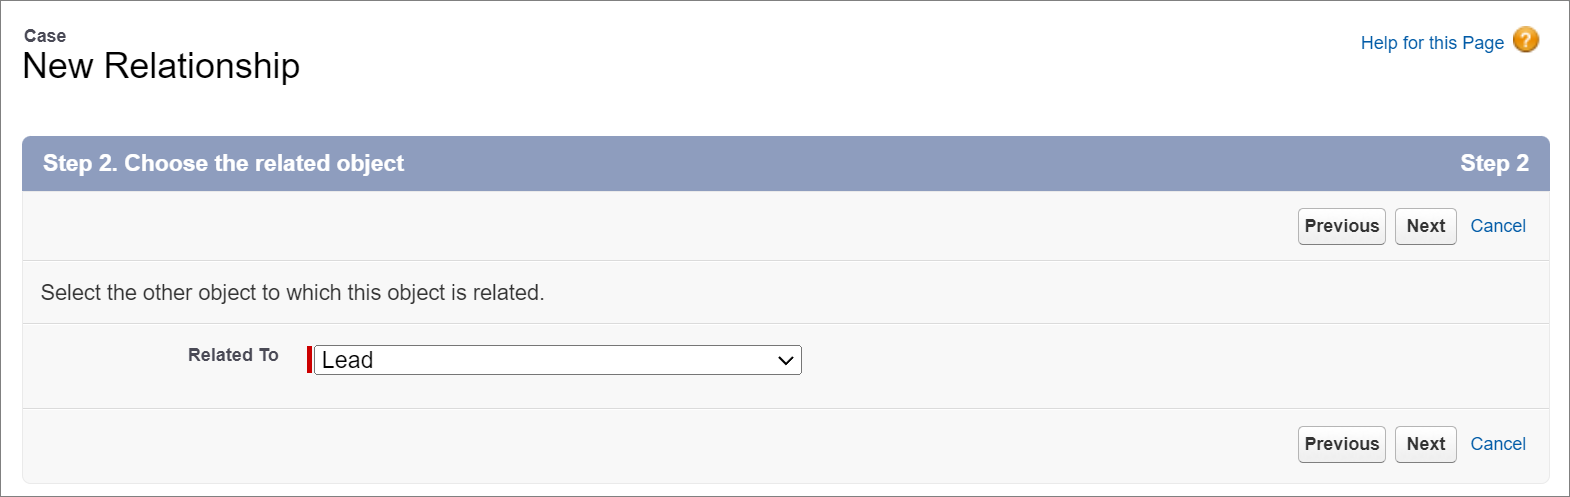
Step 2. Choose the related object
- In Related To, select Lead.
- Click Next.
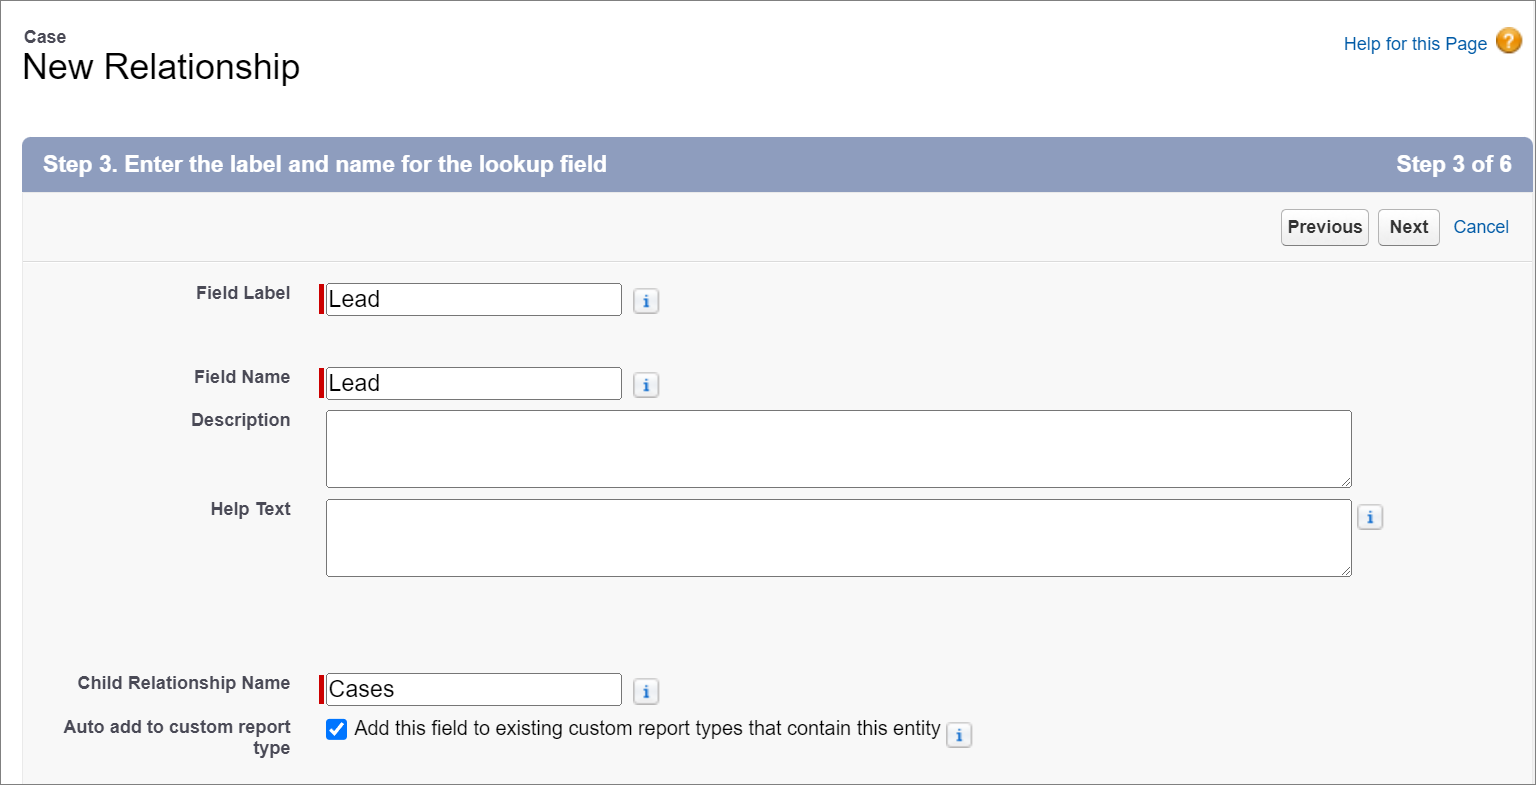
Step 3. Enter the label and name for the lookup field
- Enter the following text in their respective fields
- Field Label: Lead
- Field Name: Lead
- Child Relationship Name: Cases
- Click Next.
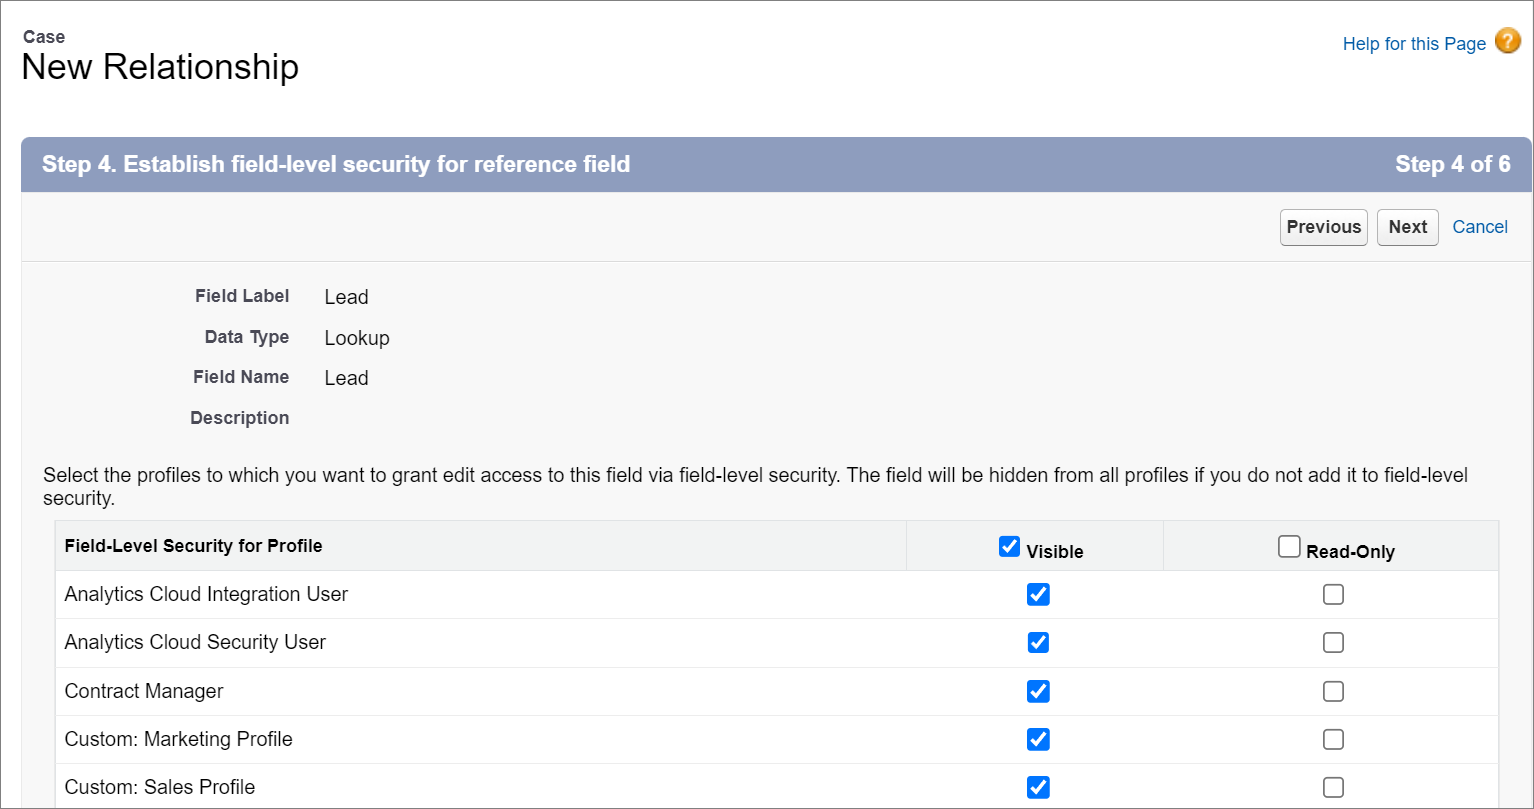
Step 4. Establish field-level security for reference field
- Confirm the field-level security for the listed Profile types and click Next.
- Be sure to select Visible for the profile types of users who will access this integration functionality.
- Click Next.
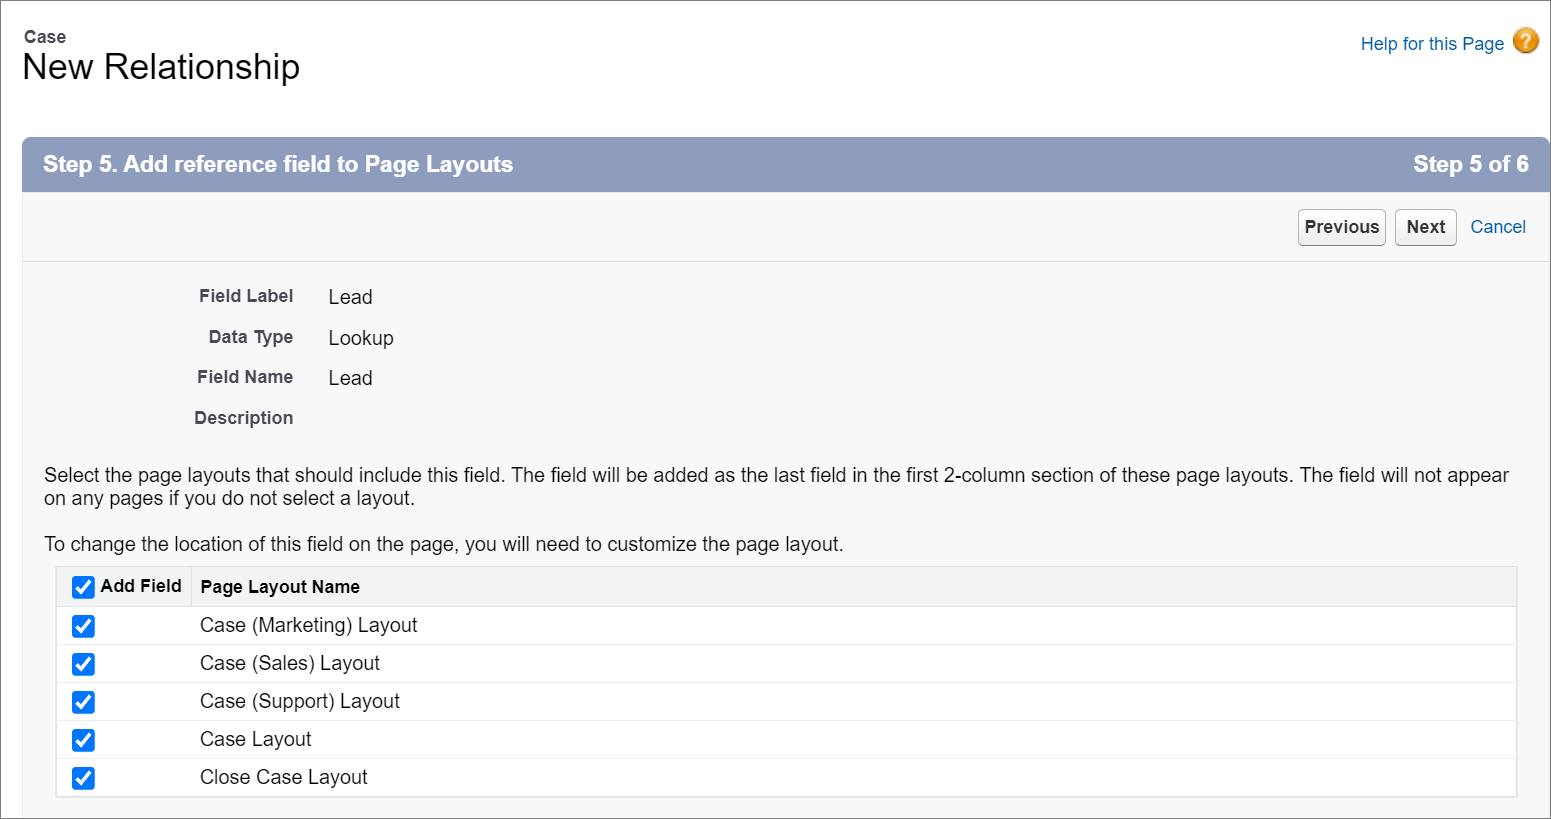
Step 5: Add reference field to Page Layouts
- Select or deselect the Page Layout Names appropriate to your needs.
- Click Next.
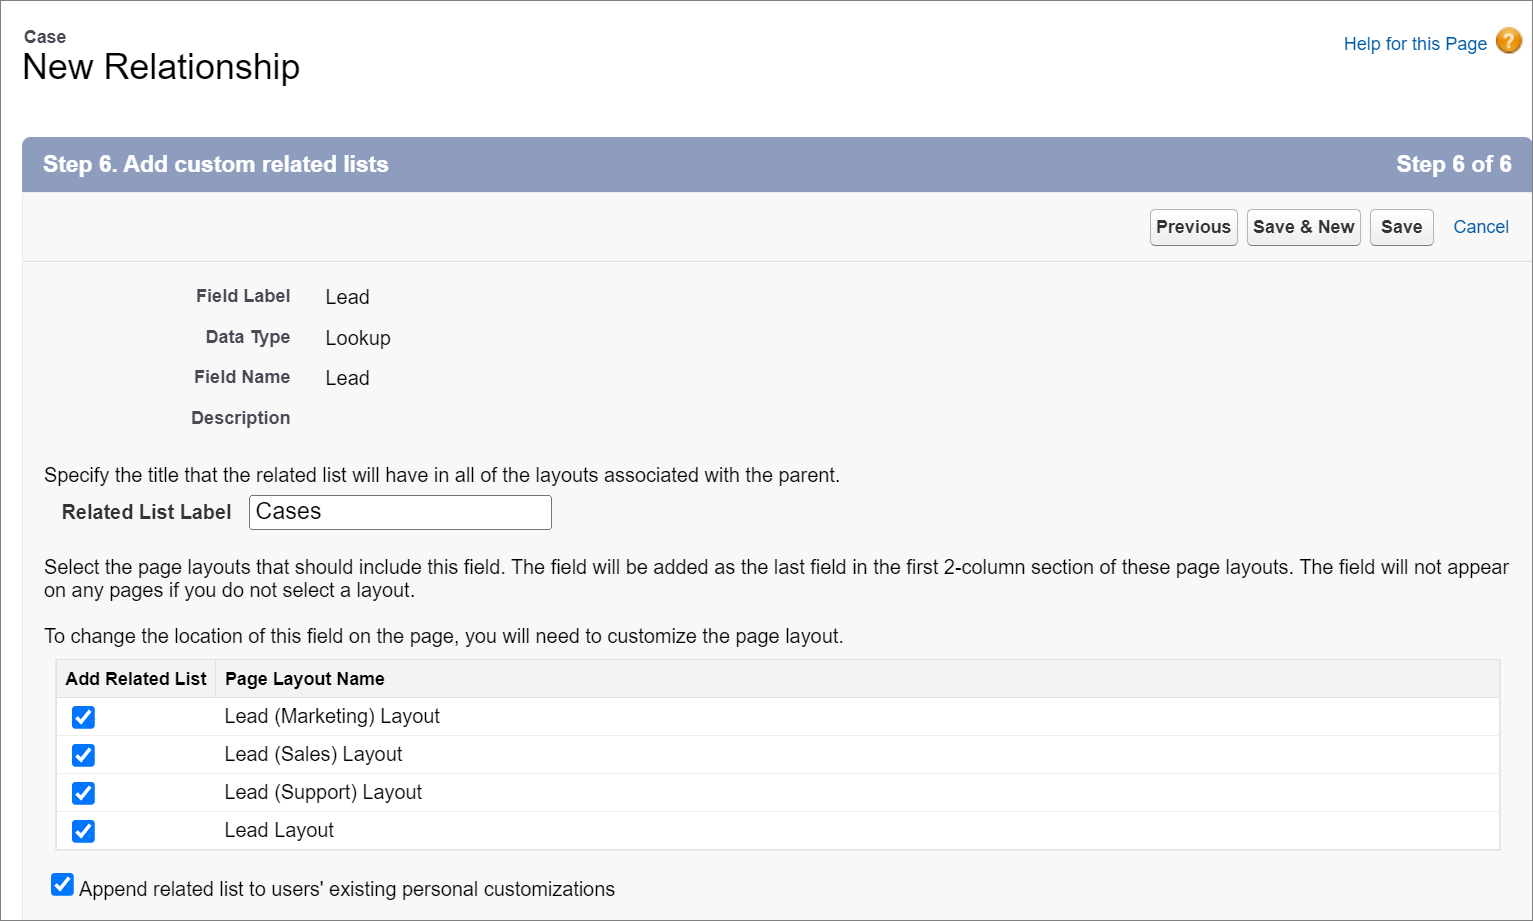
Step 6: Add custom related lists
- Leave the default Related List Label set to Cases.
- Click Save to complete your new field creation.
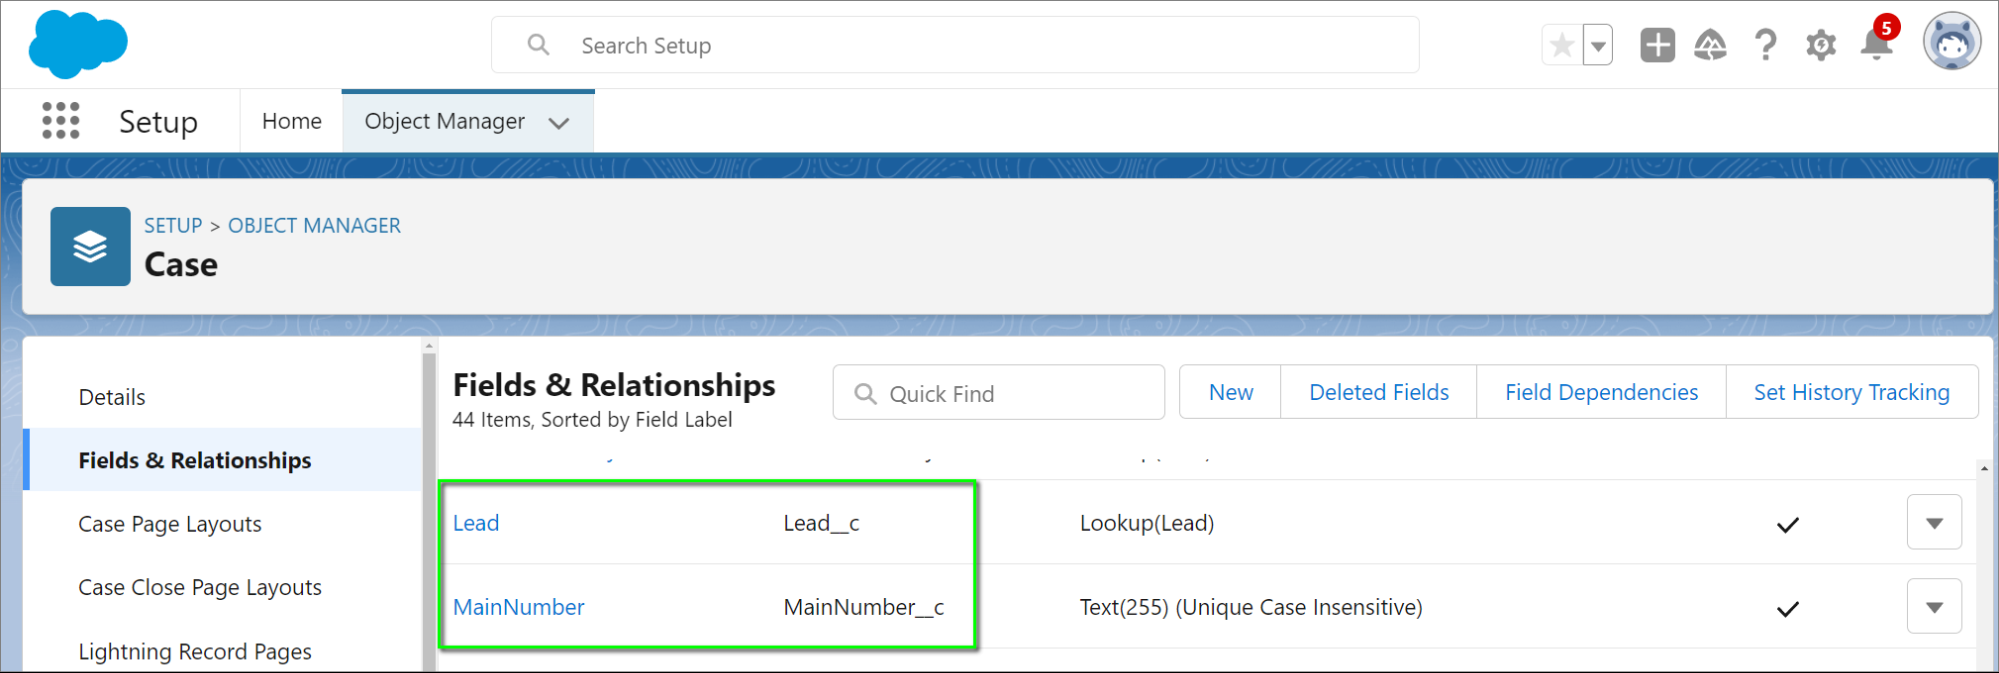
- Confirm that the MainNumber and Lead fields appear in Setup > Object Manager > Case > Fields & Relationships.
This completes the creation of the first two new custom fields. Proceed to the next section to create the final two custom fields.
Create Two New Custom Fields for the Email Message Object
New Custom Field: MainNumber
| Field Name | API Name | Data Type |
|---|---|---|
|
MainNumber |
MainNumber__c |
Text(255) (Required) |
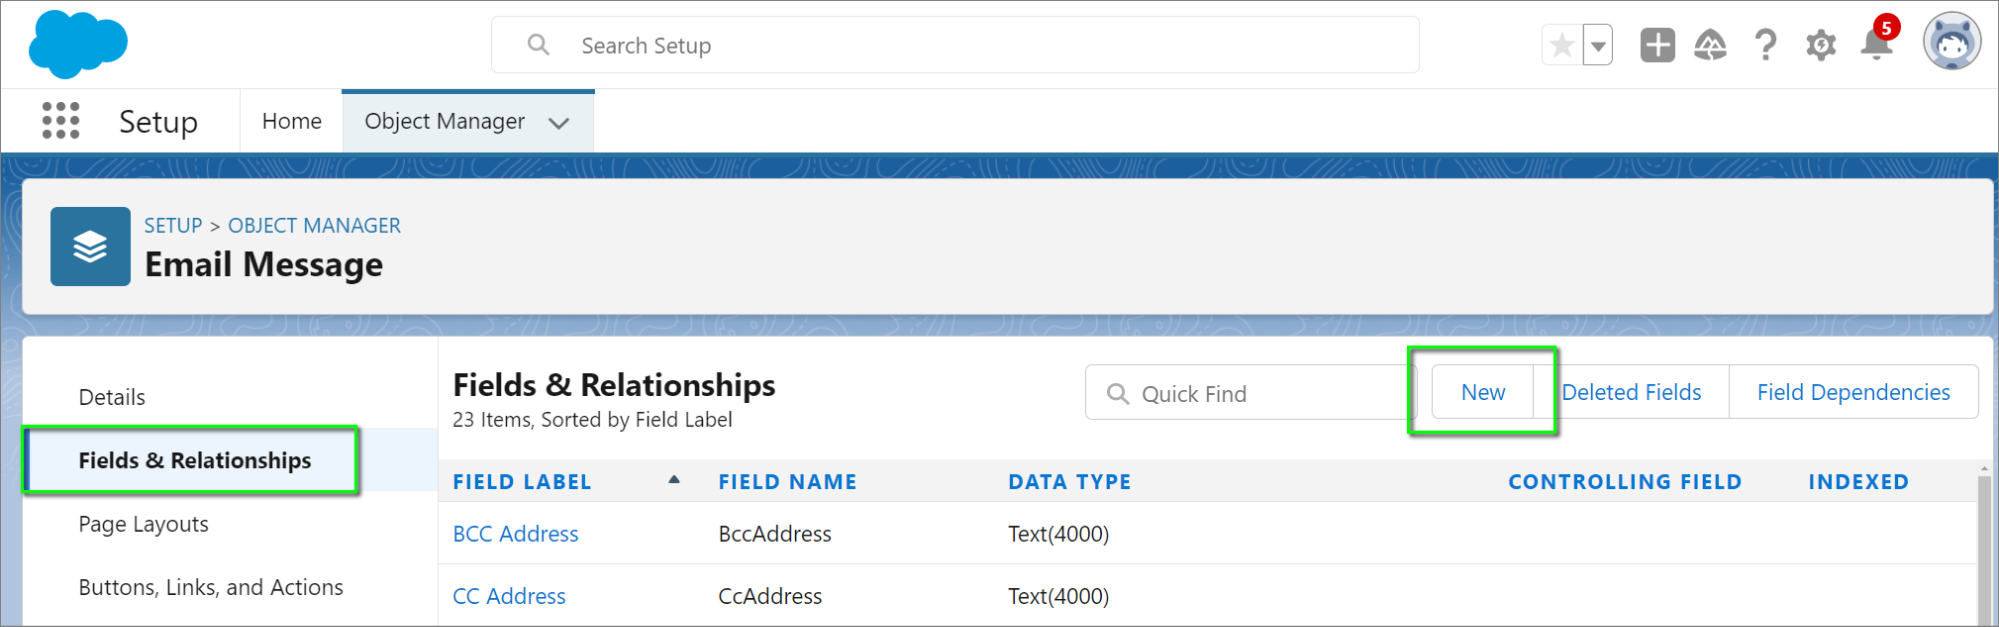
- In the Setup > Quick Find field, search for and click on Object Manager.

- Scroll down and click on Email Message.
- Click on Fields & Relationships.
- Click New.
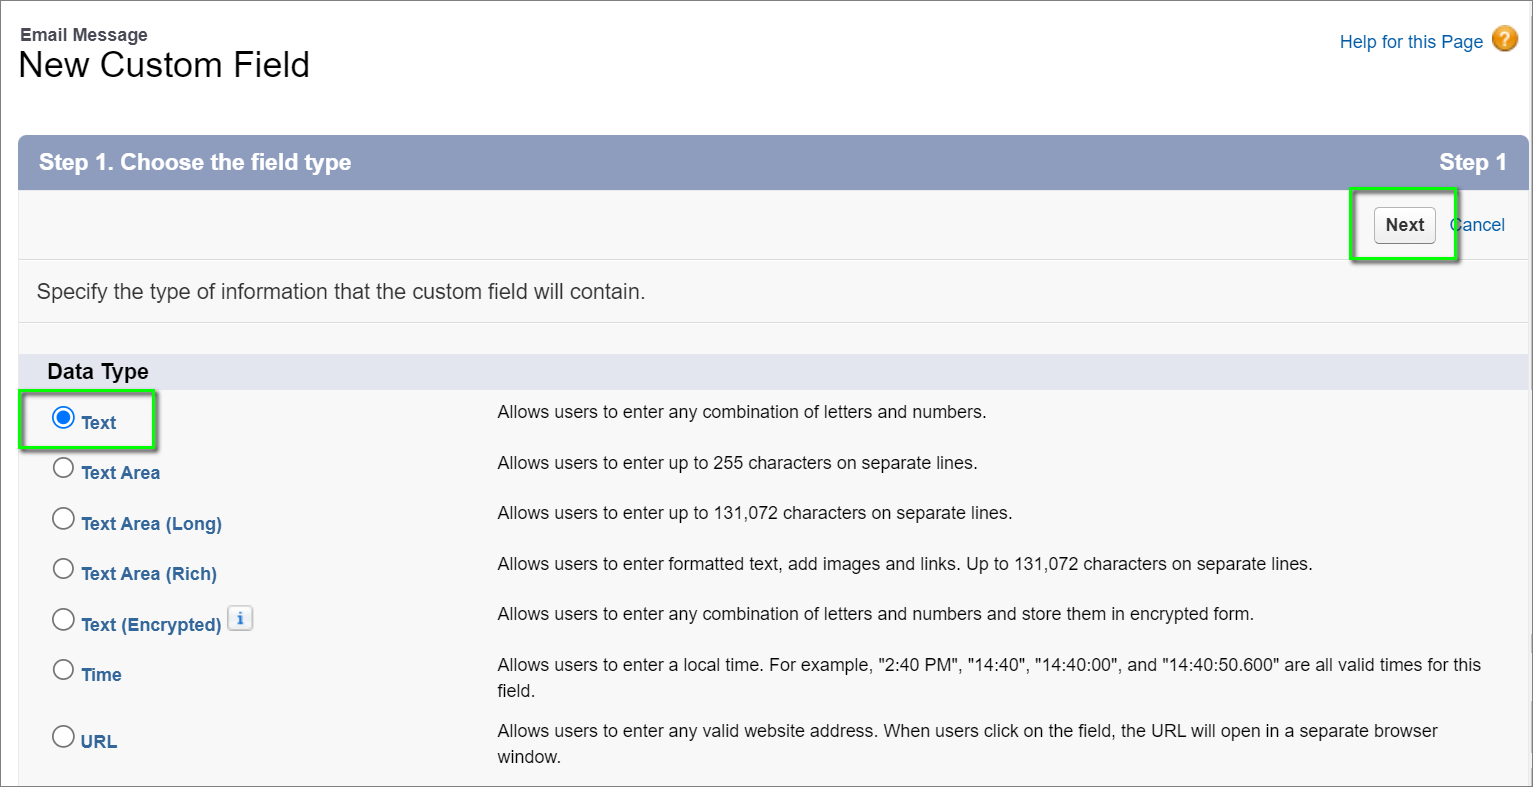
Step 1. Choose the field type
- Select Text and click Next.
- Note that this screenshot is significantly cropped. There are many more options available.
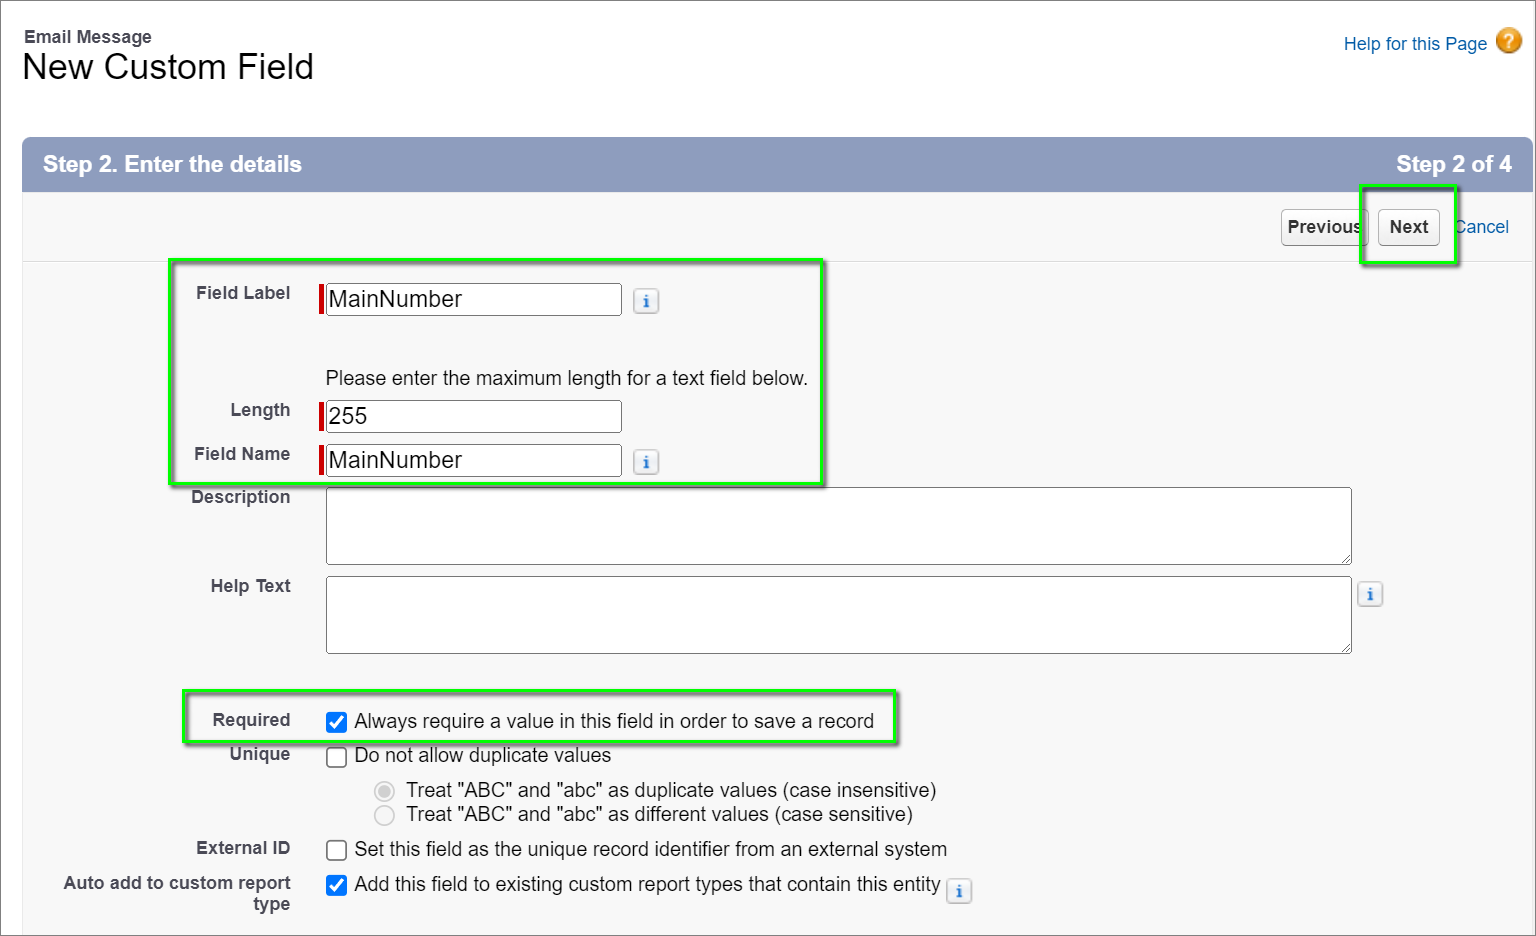
Step 2. Enter the details
- Enter the following text in their respective fields
- Field Label: MainNumber
- Length: 255
- Field Name: MainNumber
- Enable/check the following options:
- Required
- Click Next.
Important: The purpose of enabling the Required option both in Case > MainNumber and in Email Message > MainNumber is to prevent Contact Center agents from bypassing the 8x8 MAPanel functionality (and therefore Contact Center analytics reporting) by either manually creating new cases and sending emails directly from cases instead of using the 8x8 MAPanel.
These Required options can be disabled/unchecked without affecting normal functionality of the MAPanel, but this is not recommended. Case and email creation outside of the 8x8 MAPanel operation will not be reflected in 8x8 Contact Center analytics data.
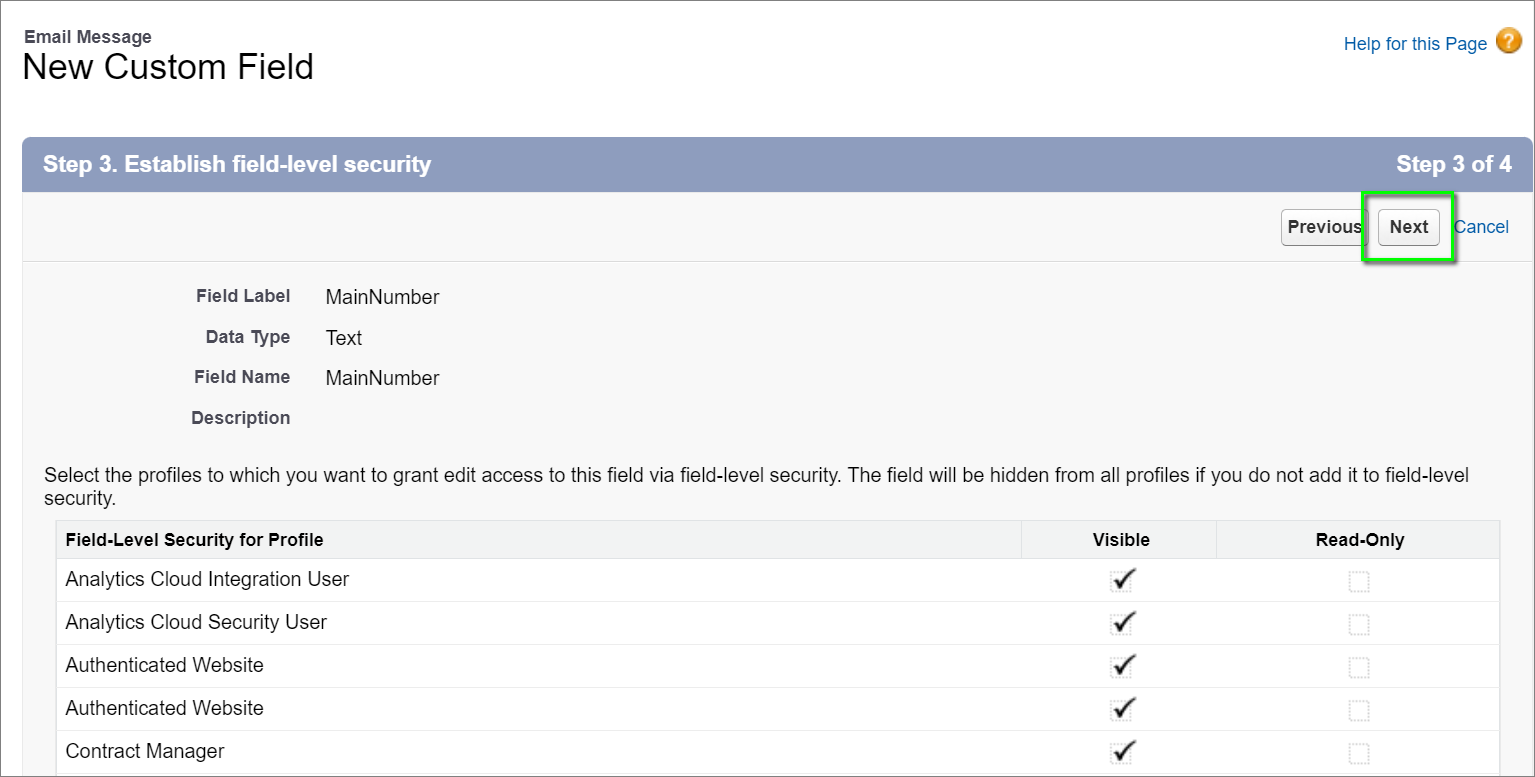
Step 3. Establish field-level security
- Confirm the field-level security for the listed Profile types and click Next.
- Be sure to select Visible for the profile types of users who will access this integration functionality.
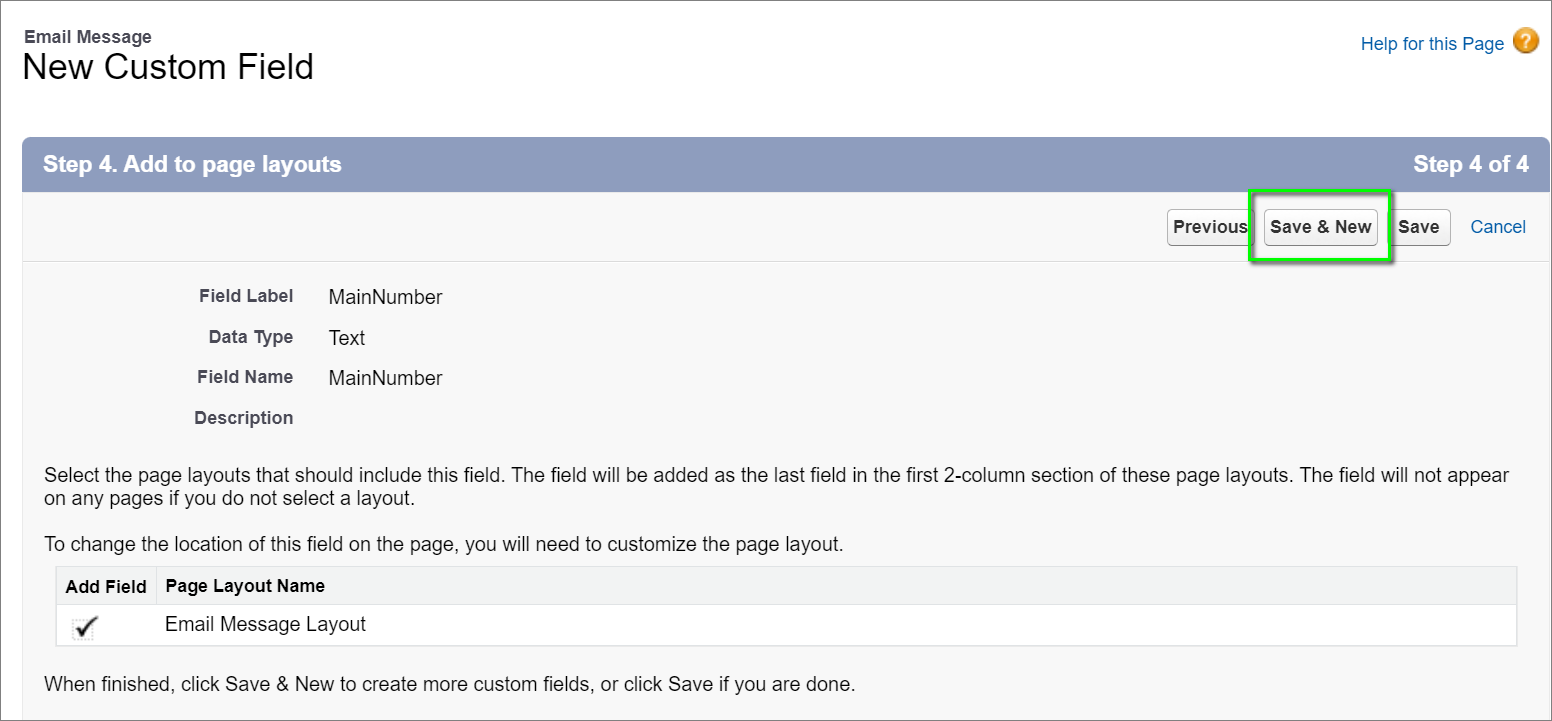
Step 4. Add to page layouts
- Confirm that Email Message Layout is selected.
- Click Save & New to begin creating the final custom field.
New Custom Field: ChildNumber
| Field Name | API Name | Data Type |
|---|---|---|
|
ChildNumber |
ChildNumber__c |
Text(255) |
Step 1. Choose the field type
- Select Text and click Next.
- Again, this screenshot is significantly cropped. There are many more options available.

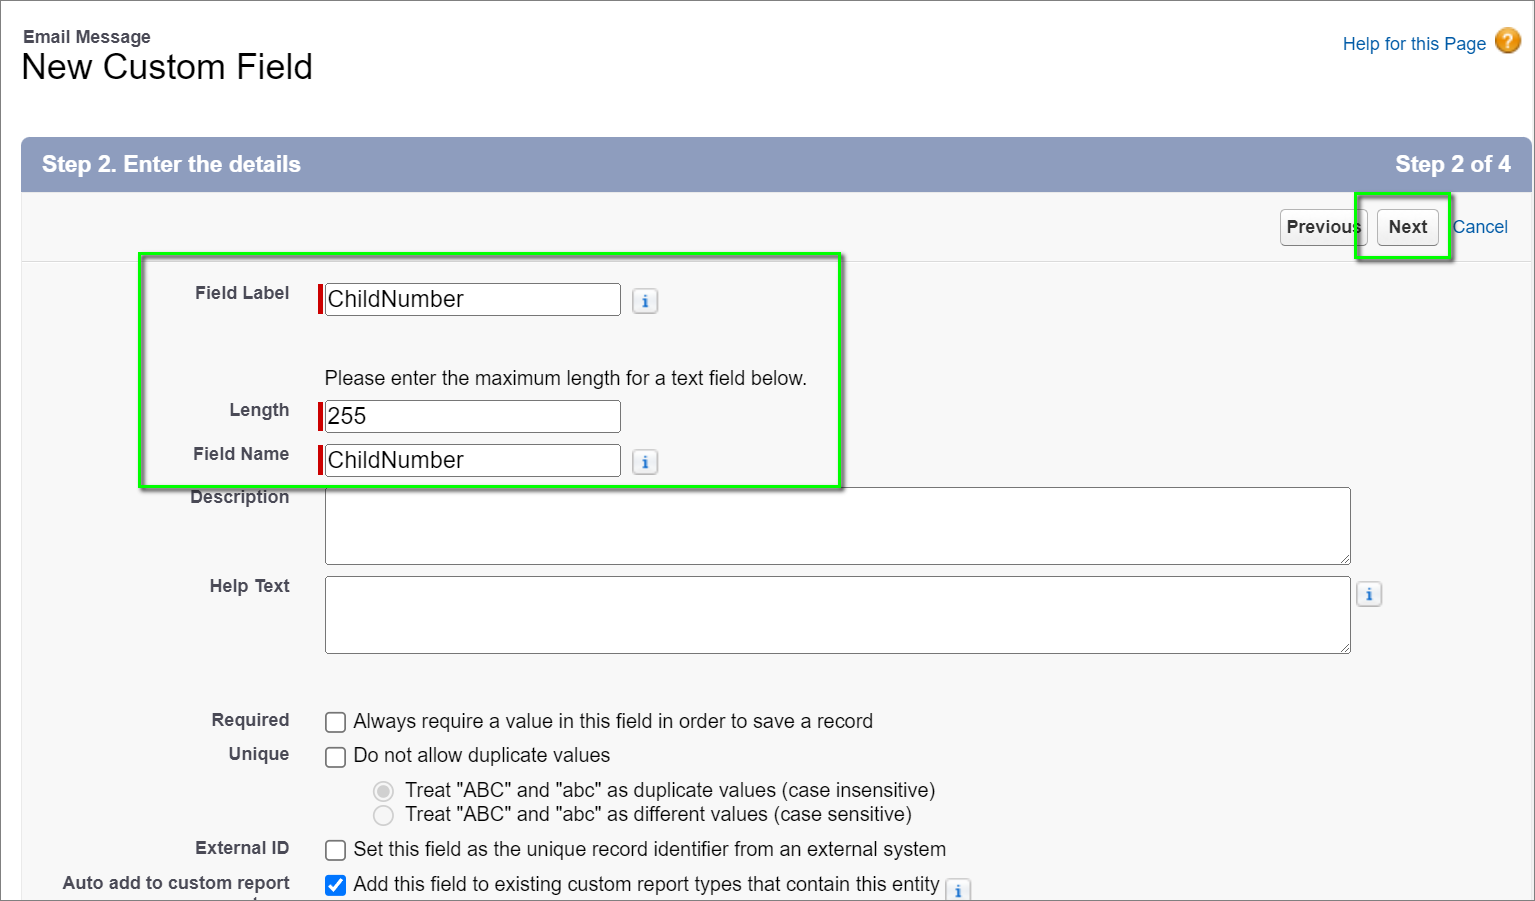
Step 2. Enter the details
- Enter the following text in their respective fields
- Field Label: ChildNumber
- Length: 255
- Field Name: ChildNumber
- Click Next.
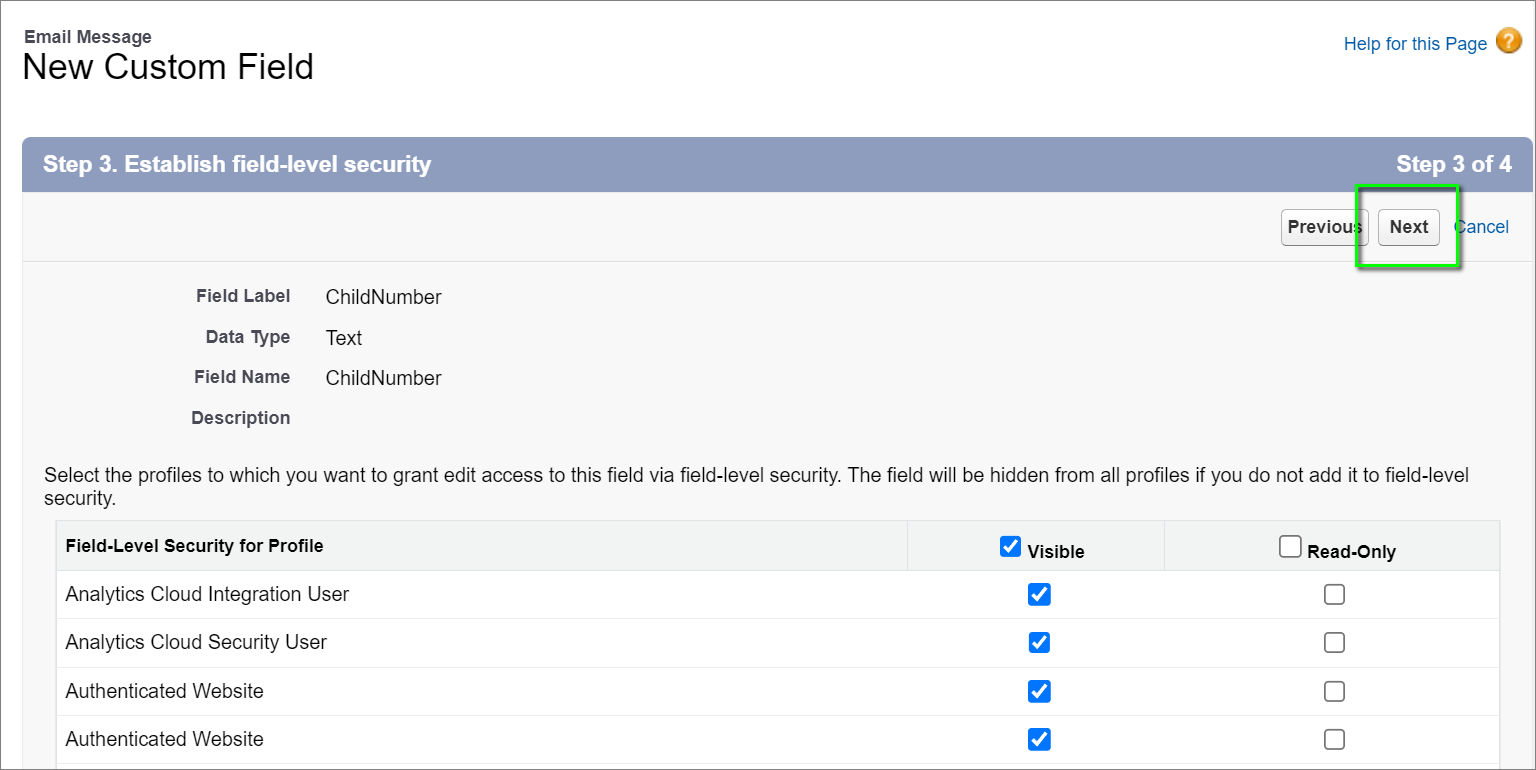
Step 3. Establish field-level security
- Confirm the field-level security for the listed Profile types and click Next.
- Be sure to select Visible for the profile types of users who will access this integration functionality.
Step 4. Add to page layouts
- Confirm that Email Message Layout is selected.
- Click Save to complete the creation of your custom fields.

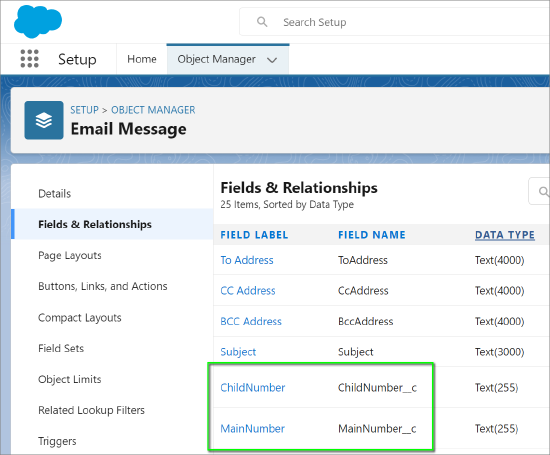
- Finally, confirm that your new MainNumber and ChildNumber fields appear in the Setup > Object Manager > Fields & Relationships > Email Message object.