How to Update an E911 Address in 8x8 Work for Desktop (8x8 Express)
Objective
Updating the E911 address in Work for Desktop.
E911, or Enhanced 911, is a means for wireless phone users in North America to provide more accurate location information when calling 911 emergency services. Providing this information within Work for Desktop settings will allow the proper emergency services to locate you more easily when calling from your 8x8 Work services. When calling 911 from 8x8 Work apps, emergency services will respond to the address listed in your E911 settings.
Applies To
- Work for Desktop
- 8x8 Express
Procedure
- Log in to Work for Desktop.
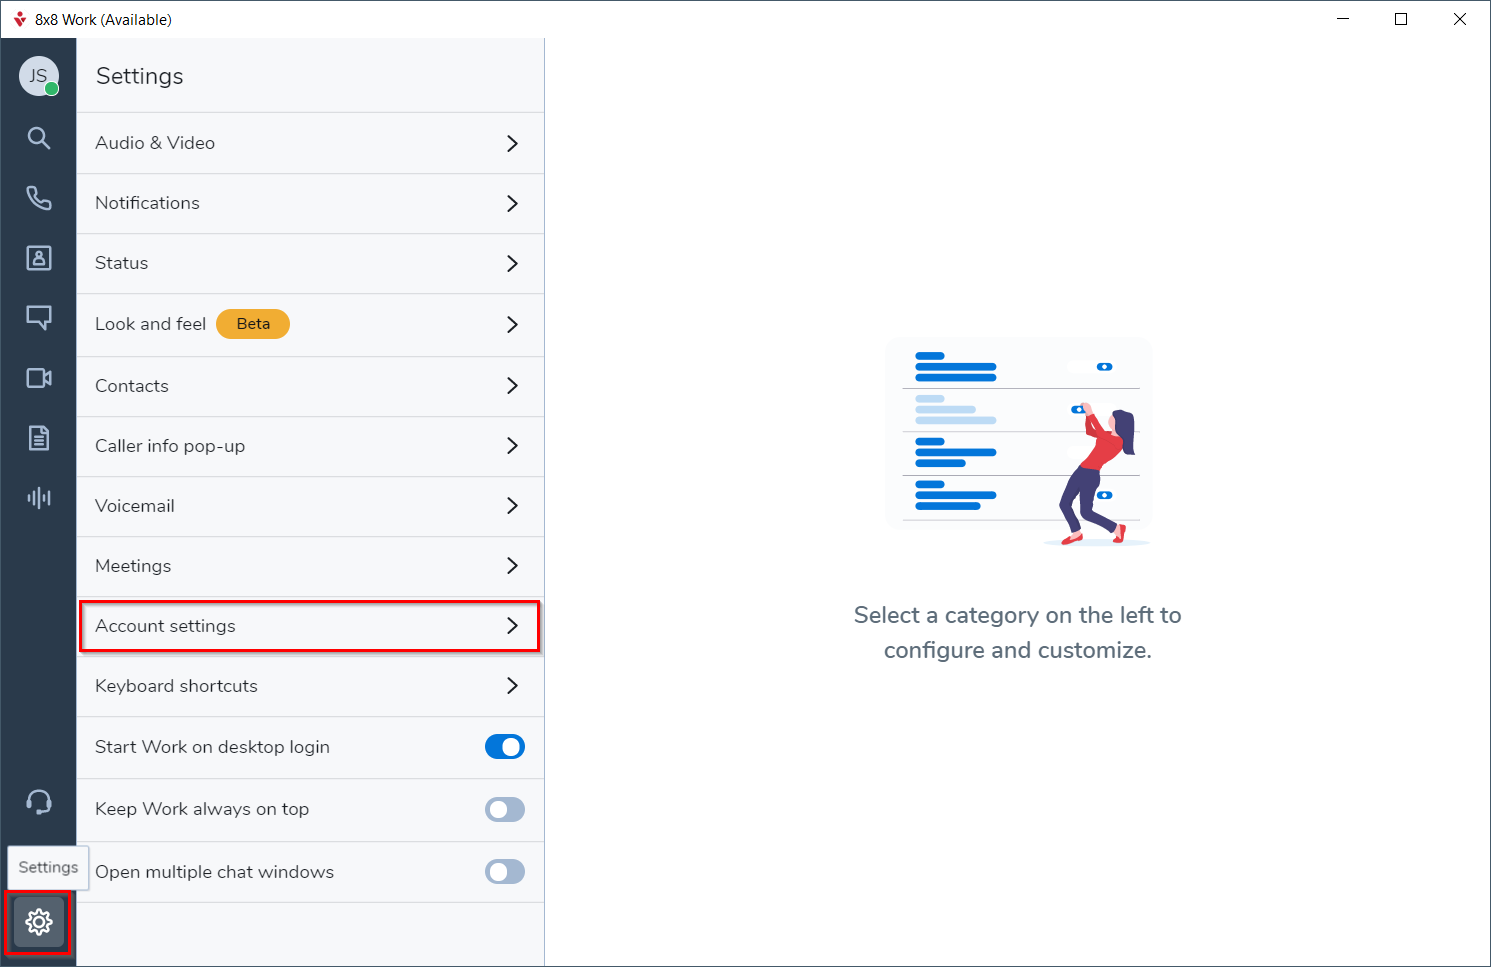
- From the left navigation, click the Settings (cog) icon.
- Click Account settings.
- From the Account settings submenu, click Emergency address.
- In the Emergency address section, under Address, do one of the following:
- To the upper right of the listed address, click Edit.

- Select New address.

Note: These instructions presume you want to add a new address for emergency services in the event of moving offices or working remotely. Same as the site address applies the general office address for your company site to your setup. Not applicable means an E911 address is not needed for this profile.
- To the upper right of the listed address, click Edit.
- Select a Country.
- Enter your Address. An automated service will validate the address.

Tips:
- Remove apostrophes, from your address: e.g., "ONel" is accepted, "O'Nel" is not
- Remove the number mark (#) from your address: e.g., "Unit 13" is accepted, "Unit #13" is not
- Use clean numbers for secondary addresses: e.g., "Floor 13" is accepted, "13th Floor" is not - Click Save.

Emergency service not available for this address? The system may suggest validated alternatives matching your entry. Select the best one and click Save. - At the bottom of the Account settings page, click Save. You should see the message Settings saved successfully at the top of the screen.