How to Record Content Sharing in 8x8 Work Meetings
Objective
To learn how to Record content sharing during a 8x8 Work Meeting, and to download it afterward.
Applies To
- 8x8 Video Meetings
- 8x8 Work Desktop
Procedure
Recording Content Sharing
- Launch 8x8 Work Desktop.
- Select the Meetings tab.
- Join a scheduled meeting.
- From the meeting panel window, select the More options menu.
- Click Start Recording.
- From the meeting panel window, select Start Content Sharing.
- Select the window or desktop you'd like to share and click Share.
- Allow up to 30 minutes after your meeting has ended for the recording to be available for download.
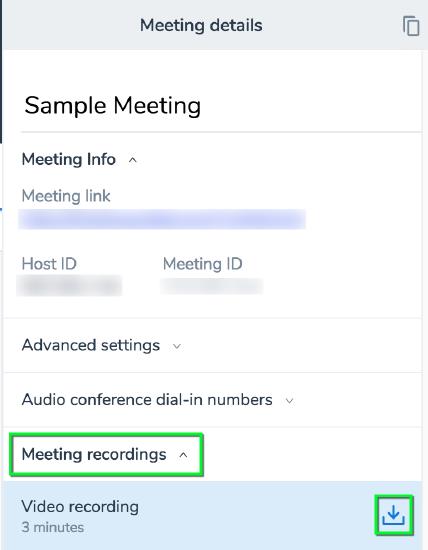
Downloading Meeting Recordings
- Launch 8x8 Work Desktop.
- Select the Meetings tab.
- Select My Meetings.
- Locate your meeting in the list and hover over the right side.

- Click Meeting Details (information symbol).
- Open the Meeting Recordings section and click Download.
Known Issues & Limitations
- You must be the meeting host or co-host to record the meeting.
- Once recorded, you will find the recording on the Meeting Details section in My Meetings in 8x8 Work Desktop. Allow up to 30 minutes for the recording to be available for download.
- Meet Now meetings cannot be recorded, as these meetings are not listed in the My Meetings section in 8x8 Work Desktop.
Additional Information
In Windows, meeting recordings automatically download to the Downloads folder. In macOS, meeting recordings may be saved directly to another location.