How to Set Up Open Hours Call Flow in 8x8 Express
Objective
Configuring how your system will handle calls to your main business number.
Applies To
- 8x8 Express
Procedure
Part 1: Welcome Message
- From the navigation menu, click Call Flow.
- You are presented with three options for setting up a welcome message for your callers:
- No welcome message; move straight to call handling (default).
- Add a greeting message via text to speech.
- Upload an audio file of the message or record a new greeting message.
Add a Welcome Message via Text to Speech
- In the Welcome Message section, select Yes - I'll type one in.
- In the text box, type your welcome message. This will be converted to speech.
Upload a Welcome Message
- In the Welcome Message section, select Yes - call me to record a greeting or let me upload an audio file.
- Click Upload. In the following window, drag and drop the audio file.
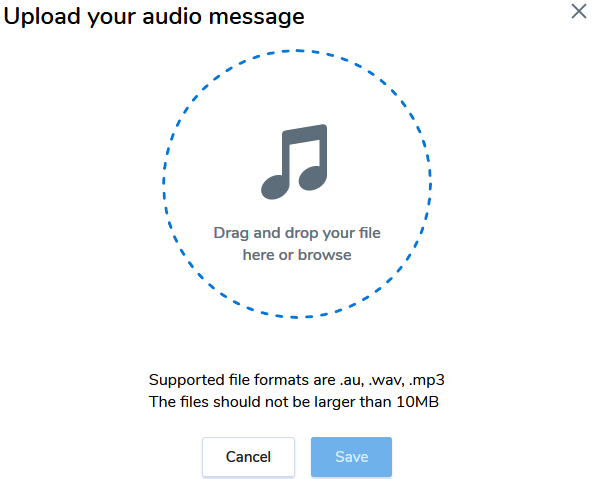
- Click Save.
Record a Welcome Message
- In the Welcome Message section, select Yes - call me to record a greeting or let me upload an audio file.
- Click Call Me.
- At the prompt, enter the desired phone number to call and click Call me.
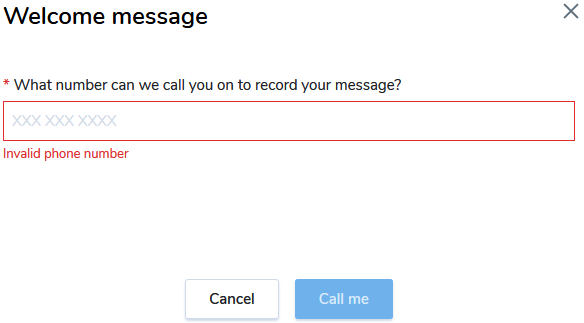
- You will receive a phone call at the number you entered. Answer the call and follow the prompts to record the welcome message.
- Once you have finished recording your message, click Finished recording in the dialog.
Part 2: Call Handling
The next section is used to set up how the system handles your incoming calls. There are a few options available to you:
- Ring your team. This will ring your entire team, with some options on how the ringing is handled (default).
- Go to your team's voicemail. This sends callers to your team's shared voicemail box.
- Use an automated menu. This will offer callers options to self-direct their calls. If you use this option, make sure that your welcome message matches the menu options.
- Redirect the call to a specific person or number. This allows you to send all calls to your business number to a specific person or phone number (other than your main business number.
Add Members to Your Call Handling Team
Use the drop-down menu to add members to your call handling team, and set whether or not they have team voicemail access. This is optional.
Ring Your Team
- Select Ring your team.
- Use the drop down under Ring your team to choose how you want your team to be offered calls.
- Simultaneous (Default): Alerts all members simultaneously in the team when a call is received. Any member can answer the call.
- Sequential (Cyclic Repetitive): Allows calls to be distributed among all members in the same order as listed in the team. Each new call starts at the first user. You can set the number of times the call cycles through the users before going to voicemail or next destination.
- Round Robin (Cyclic Pattern): Also known as rollover. A cyclic pattern allows an equal distribution of calls, making sure all team members assist equally in answering the calls. You can set the number of times the call cycles through the extensions before going to voicemail.
- Use the drop-down to choose how many rings you want each team to be offered the call for.
- If you selected Sequential or Round Robin, you will need to use the drop-down to select how many cycles the caller is put through before being sent to your call forwarding rules.
Call Forwarding
Select where you want calls to be directed if no one answers the call.
- When all team members are busy or unavailable, send calls to:
- Voicemail
- Another user or external number
- If another user or external number is selected, use the drop-down and either select a user, or enter an external phone number.
- For When no one answers, forward calls to, follow steps 1 and 2 listed above.
- (Optional) Set a voicemail message. Use the options to Call me or Upload to create a custom voicemail message.
- Click Save.
Go to Your Team's Voicemail
- Select Go to your team's voicemail.
- (Optional) Set a voicemail message. Use the options to Call me or Upload to create a custom voicemail message.
- Click Save.
Automated Menu
- For each key, use the drop-down to select what you want the caller to do when that key is pressed. There are three options:
- Transfer To: Direct the caller to another user or an external number.
- Repeat Menu: Allow the caller to listen to the menu prompts once more.
- Dial by Name: Allows the caller to dial the desired party's name.
- Under call forwarding, use the text box to enter how long, in seconds, you want the system to wait before taking the next action.
- Use the drop-down to select how many times to replay the menu if the caller doesn't press a key.
- Under No Caller Input, select what you want to happen if the caller does not press a key at any time.
- Redirect the call to another user or an external number.
- Hang up the call.
- Click Save.
Redirect the Call to a Specific Person or Number
- Select a user or enter an external number where you would like to direct calls.
- Click Save.