|
The purpose of this article is to provide a sample configuration. At the time of article creation, this device was in a known working state on the firmware used.
Keep in mind different firmware versions will interact with hosted VoIP services in different ways. While this device may be fully functional on the tested and/or current firmware version, it is possible newer revisions will cause disruptions in service or make a device fully compliant with the required settings for hosted VoIP services where it was previously not. |
 |
For Palo Alto Firewalls on firmware 8.0 and above. For configuring a Palo Alto Networks Firewall with firmware lower than 8.0, refer here.
|
Objective
Configuring a Palo Alto Networks Firewall for 8x8 services.
Applies To
- Palo Alto Networks Firewalls

Procedure
Administrative Information
- Make sure your firewall is powered on and connected to your network.
- Connect the RJ-45 Ethernet cable from the RJ-45 port on your computer to the MGT port on the firewall.
- If necessary, change the IP address on your computer to an address in the 192.168.1.0/24 range (e.g., 192.168.1.3).
- In a browser on a computer on the same network as the Palo Alto Networks firewall, navigate to https://192.168.1.1
- Log in (default credentials shown below).
- Username: admin
- Password: admin
|
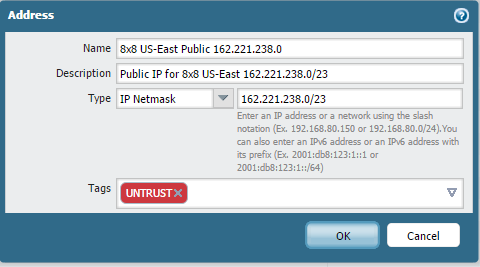
Adding/editing 8x8 subnets is recommended when available. Click here to review the X Series and ZTP documentation. |
Configuring 8x8 Voice Services on Palo Alto Networks Firewalls
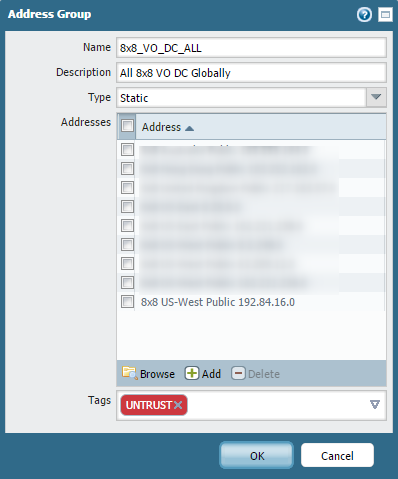
Create an Address Group for 8x8 Public IP Subnets
- Go to Objects > Address Groups.
- Add all entries you created in the previous screen. (The Name can be whatever you prefer.)
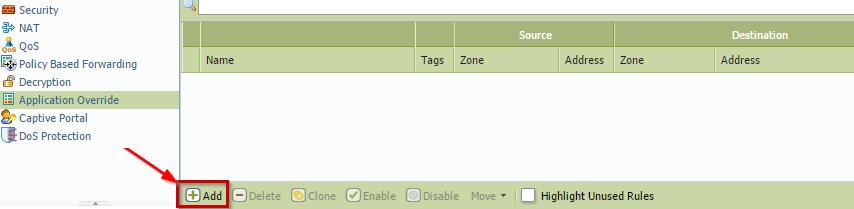
Create a Security Rule on PAN System
- Go to Policies > Security.
- Click Add.

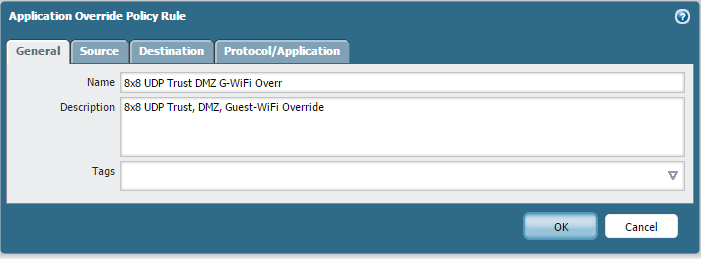
- On the General tab, name the Security Rule and add a Description as desired.
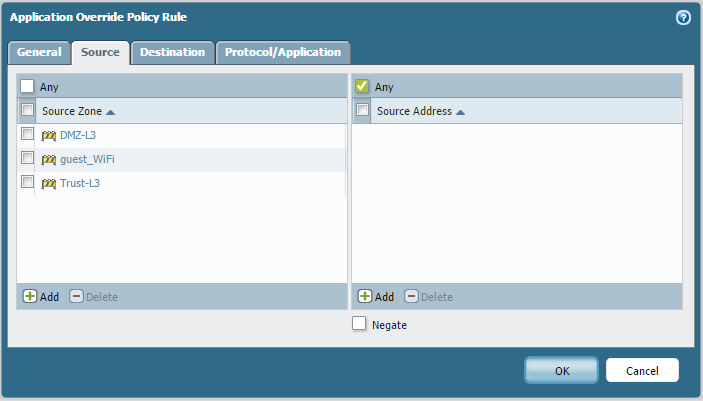
- On the Source tab, set Source Address or Source Zone (this is any subnet or zone that will have 8x8 phones or 8x8 8x8 Work Desktop or Mobile running on it).
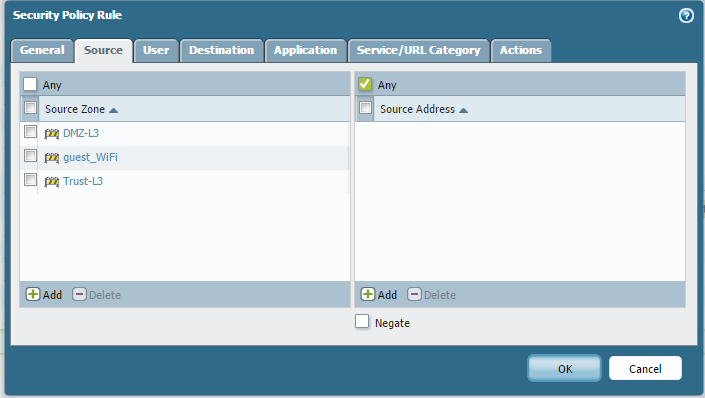
- Leave the User tab blank.
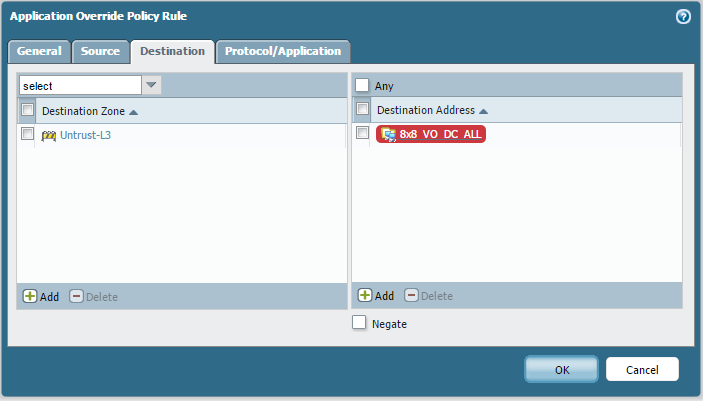
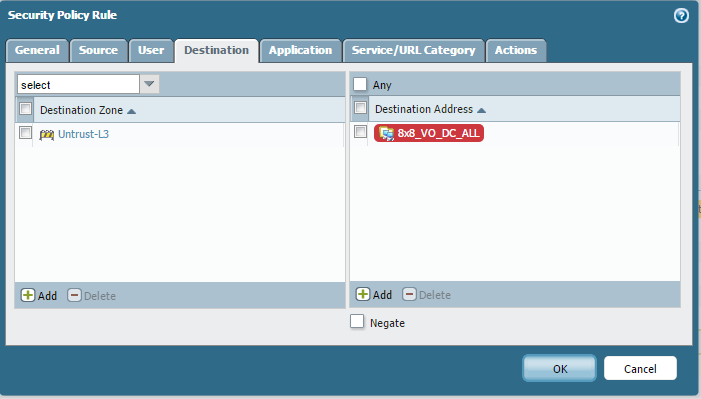
- On the Destination tab, set the Destination Address by adding the Destination Address group you created earlier
- Untrust (WAN/Internet) the zone for your network.
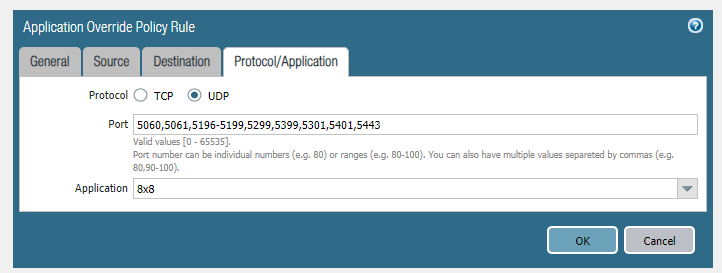
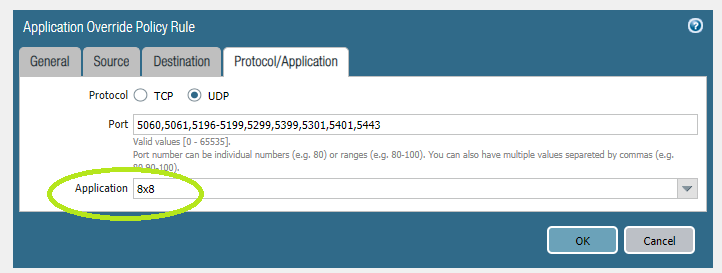
- On the Application tab, click + add and add the following applications:
- 8x8
- web-browsing
- vidyo
- stun
- ssl
- sip-application
- sip
- rtp
- rtp-base
- rtmpt
- rtmp
- rtcp
- jabber
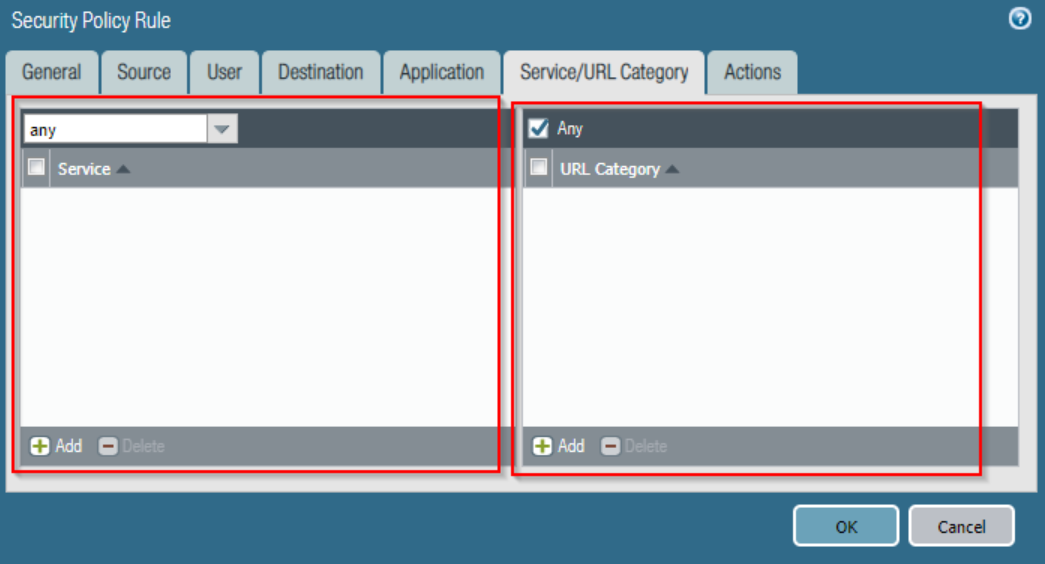
- Set the Service/URL Category to ANY
- On the Actions tab, set Action Setting to Allow.
- Click OK.
- Move the newly created security rule to the top of rule list to avoid rule conflicts.
Additional Information
The phones require a minimum UDP and TCP time out of 660 seconds or 11 minutes, depending on the network setup these settings may need to be modified on the PAN
 |
Known Issues
- Specifically Fax services don't work reliably with the higher resolution codecs.
|
|
Additional Configuration
If needed, the 8x8 XML file can be uploaded to your Palo Alto Firewall. Follow the steps below if you would like to import the XML file to the PAN firewall.
- Right-click this link and select "save link as" to download the file to your computer.
- Go to Objects > Applications.
- Click Import.
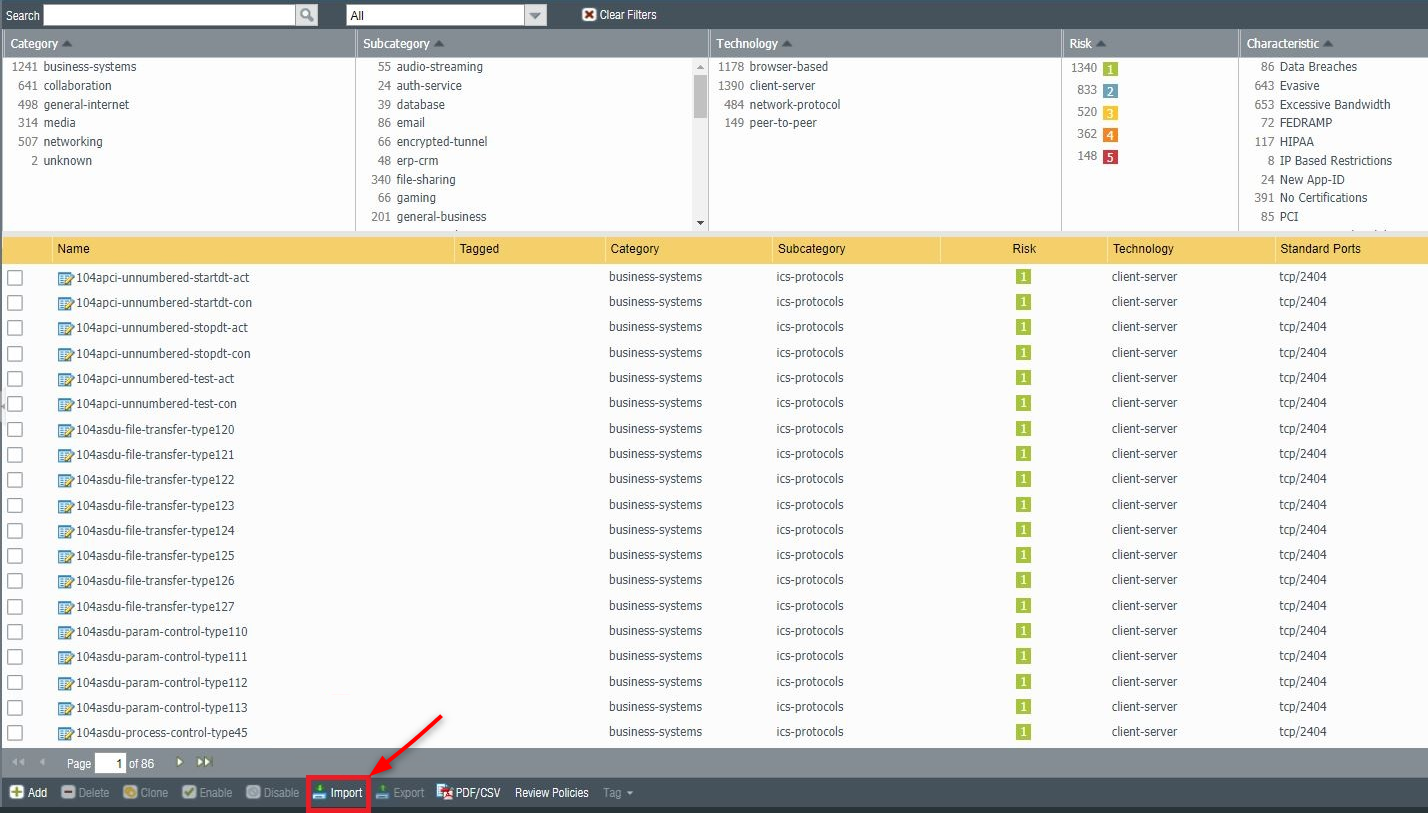
- Import the downloaded 8x8_Palo_Alto_Networks_XML file.