Configuring the 8x8 Extension for ICA
Objective
This guide will show you how to install and configure the 8x8 extension from the Cognigy marketplace to use with your ICA integration.
Applies To
- Intelligent Customer Assistant (ICA)
- 8x8 Contact Center
- Cognigy
Installing the Extension
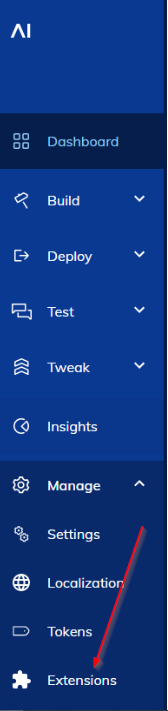
- Within Cognigy, open an agent and navigate to Manage and then Extensions.
- In the Marketplace, 8x8 should be listed.
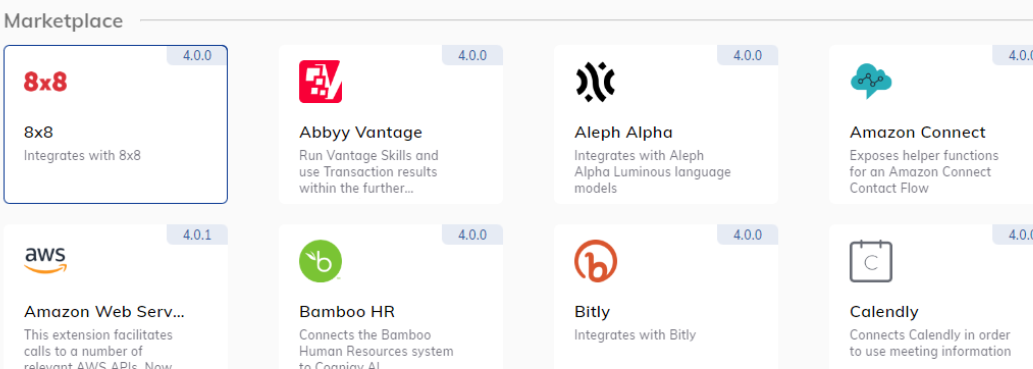
- Click the tile and then install in the right navigation pane.
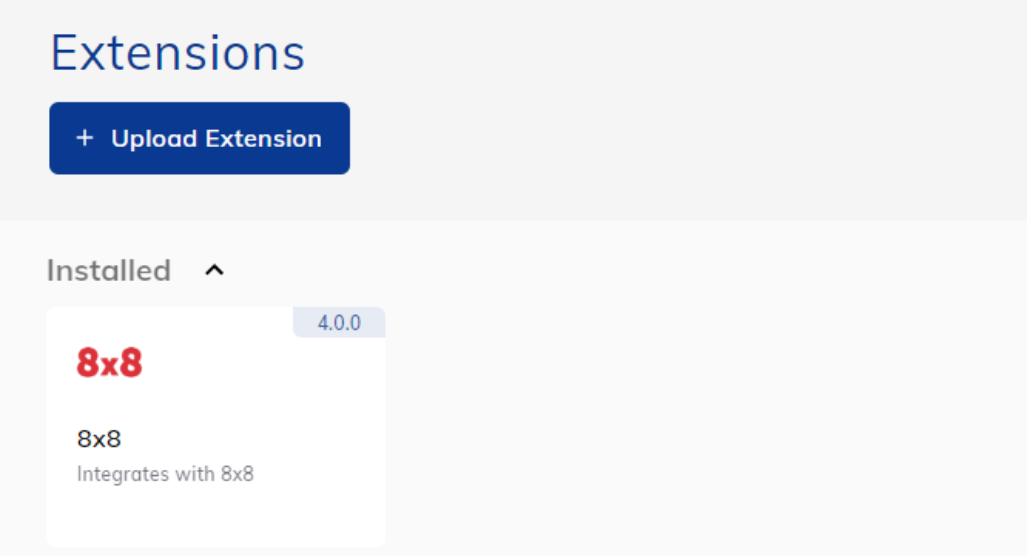
- Once the Extension is installed, it will be listed above:
Configuring/Using the Extension in a Flow
- Now open a flow and add a new Node.
- In the selection box, select the Extensions Tab across the Top.
- Then click the 8x8 Icon for the list of available functions:
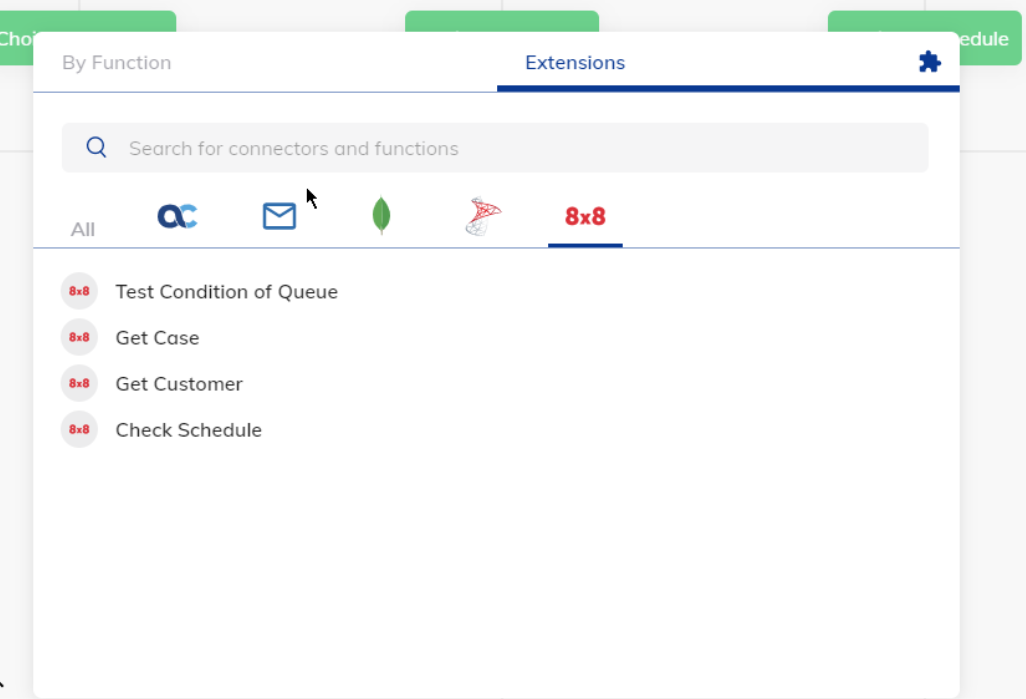
- Add the function you would like to use.
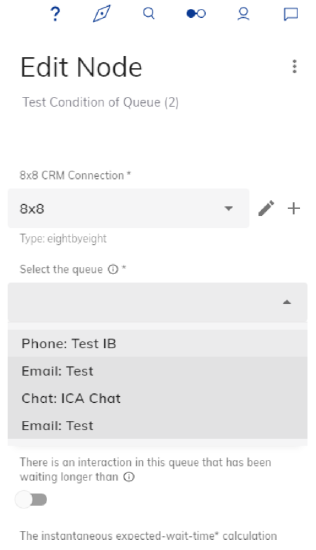
- The Node needs to be configured to query the correct system and object.
- From within the Edit Node click the + button to add a new connection.
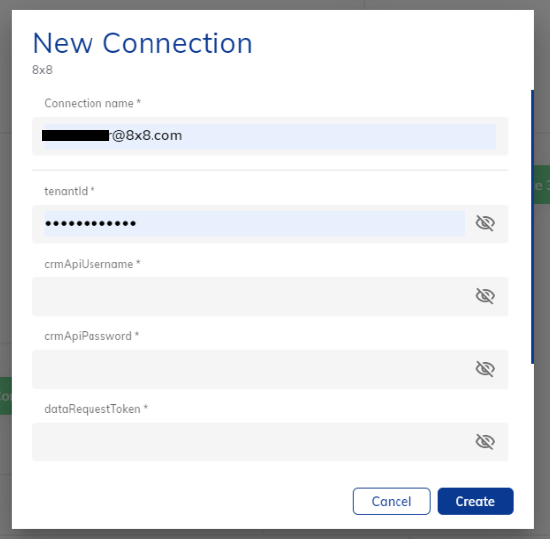
- You will need to complete all items in the form:
- Connection name
This is the name of the connection and will appear in all 8x8 Extensions once create for use. - Tenantid
This is the Tenant name found in CC CM under Home and Profile. - crmApiUsername
This is found in CC CM under Integration and CRM API to get the username.
Make sure that the Enable CRM API Access box is ticked. - crmApiPassword
An existing password cannot be displayed. If you do not know the current password, you will need to create a new password in CC CM under Integration and CRM API and use that. - dataRequestToken
This is found in CC CM under Integration and the API Token tab. - actionRequestToken
This is found in CC CM under Integration and the API Token tab. - clusterBaseURL
This is the full CC URL eg. https://vcc-eu5.8x8.com
When pasting to this field, the form automatically adds a forward-slash, click the reveal button and remove this as it will cause the connection to fail.

- Connection name
- If everything has worked, the Select Queue field will have a list of the available queue’s / schedules depending on the function you are using.
- You will need to create at least 1 queue / schedule for anything to show in the field as the system will not use the defaults.
Now that you have configured the 8x8 extension for ICA, you can move onto configuring a chatbot using the 8x8 chat widget.
Note: There is a known limitation that only the first 50 queues/schedules will be displayed. Currently there is no way to use the 8x8 extension nodes for items not listed.