Creating a Group in Fuze Desktop
Objective
Create a chat group in Fuze Desktop.
Applies To
- Fuze Desktop
- Chat
Procedure
Fuze allows you to do much more than just chat with other members of a group. You can also join calls or meetings, and share files, recordings, and notes to enhance your experience and let work flow.
Creating a group in Fuze is easy, and groups are very useful if you want to start a conversation between a few people or form a themed discussion.
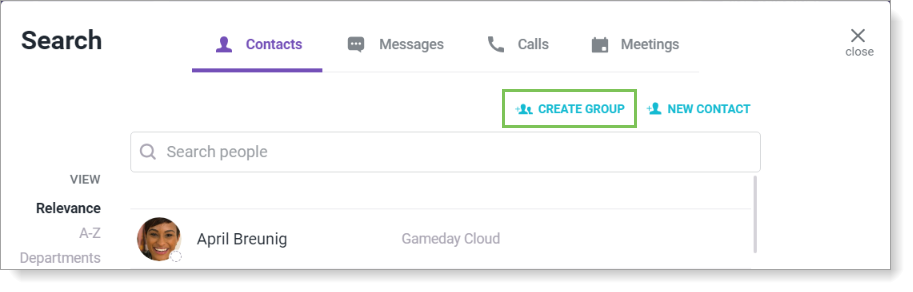
- Click Search in the Fuze toolbar. The Search screen is displayed.
- Click Create Group.
- On the Create Group screen, use the search bar to search for contacts to add to the group.
- In the search results, click on the contact row to add the contact to the group. When a contact is added to the group, the member count increases and their name is displayed in the Members area. To remove a member from the group, click the X beside their name in the Members area.

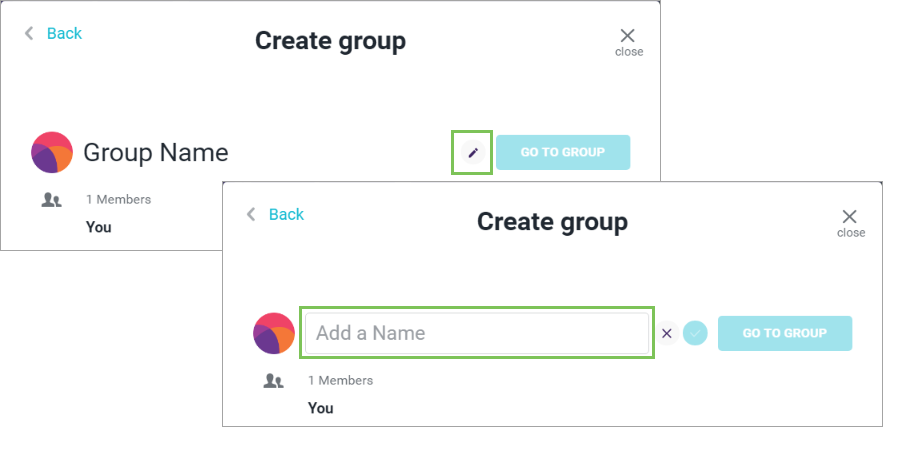
- Change the group name:
- Click the Edit icon to edit the group name.
- Type the group name in the Add a Name box.
- Press Enter or click the check mark to change the new group name. A name is required for groups that have 12 or more members.
- Click Go to Group to create your group and proceed to the desktop chat screen for that group.

Additional Information
Looking for information on creating a group on Fuze Mobile? See Creating a Group on Fuze Mobile.