Webinars
Objective
Creating webinars with Fuze Desktop.
Applies To
- Fuze Desktop
- Webinars
Procedure
Use Fuze to schedule, invite, require registration, and manage presenters for webinars that include up to 1000 participants.
Webinars have a specific creation and management workflow in Fuze that allows you to define presenters, set and manage dates, and generate and send customized email invites automatically. Additionally, you can require attendees to register and provide specific details about themselves prior to joining (e.g., company, email, name, etc.).
Create and manage webinars via the Meetings tab of the Search screen.
Create a Webinar
- Click in the Search field in the Fuze toolbar.
- Navigate to the Meetings tab and click Webinars. If you do not see the Webinars link to the left of the Search screen, expand the Fuze window.
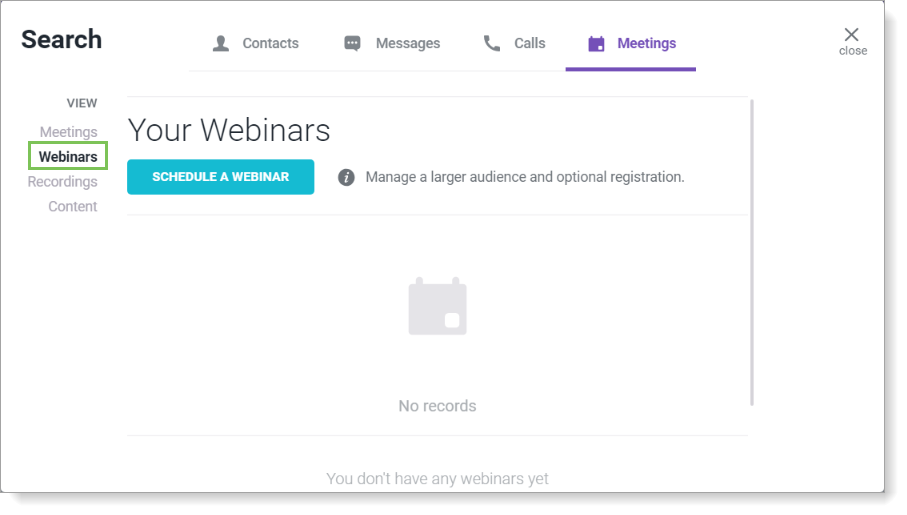
- Click Schedule a Webinar. The Event Details screen is displayed.
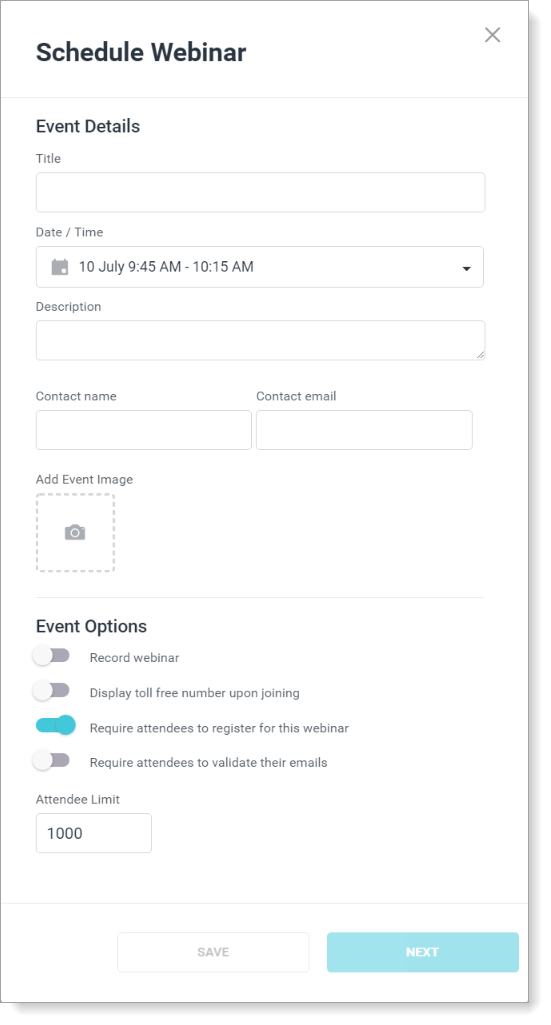
- Complete the following steps (scroll down in Event Details if necessary):
- (Required) In Title, enter your webinar name.
- (Required) In Date / Time, select a future date and time for your webinar.
- (Required) In Description, describe your webinar.
- In Contact name, enter your webinar facilitator name.
- In Contact email, enter your webinar facilitator email address.
- Click Add Event Image to upload an image from your computer.
- Use the Event Options area to select options to customize your webinar.
- In Attendee Limit, enter a number that up to 1000. The default and the limit is 1000.
- Click Next. The Add presenters screen is displayed.
- (Optional) Add presenter details, and click Add for each presenter that you want to showcase in the webinar email. Click Add me as presenter to include your own details in the webinar invite.
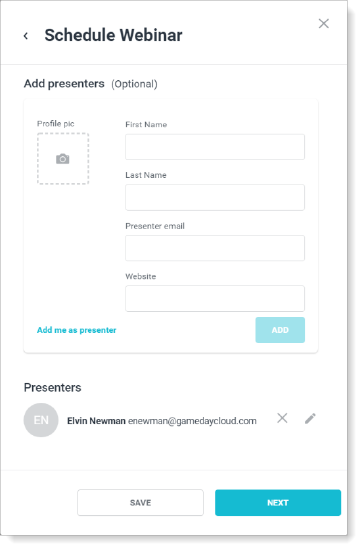
- Click Next. The Registration screen is displayed.

- Select the check box that is associated with each detail that you want attendees to provide during registration. Select the associated Required checkbox to make a detail required during registration. Click Add another field to create a custom field. Fuze cannot validate the information entered by attendees in custom fields.
- Click Next. The Event Details screen appears.
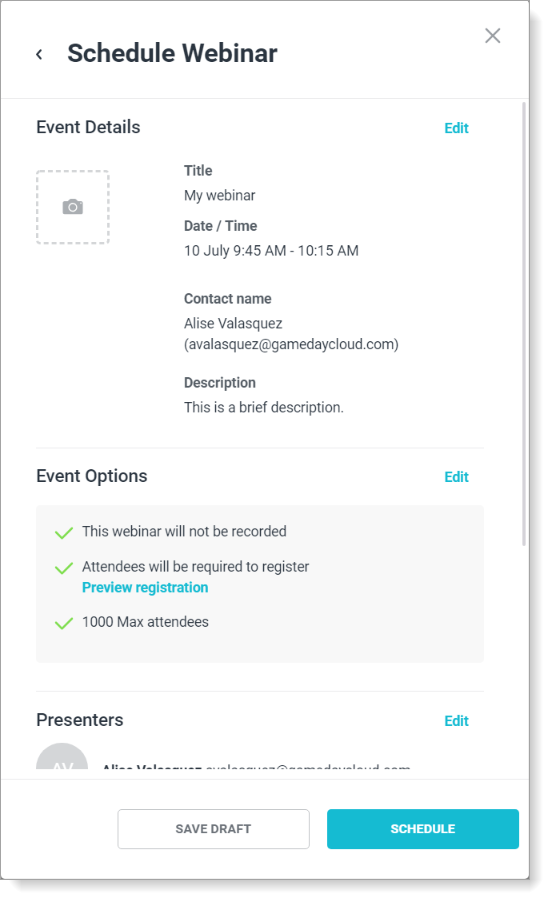
- Review the details that you entered. Click Schedule when you are ready to schedule the webinar and generate the invite email. Click Edit to return to any section you need to update.
Manage a Webinar
When the webinar is scheduled, Fuze generates and sends the invite email to the email address you entered as the webinar contact.

You can then customize the invite, and you can forward the invite to your list of invitee email addresses.
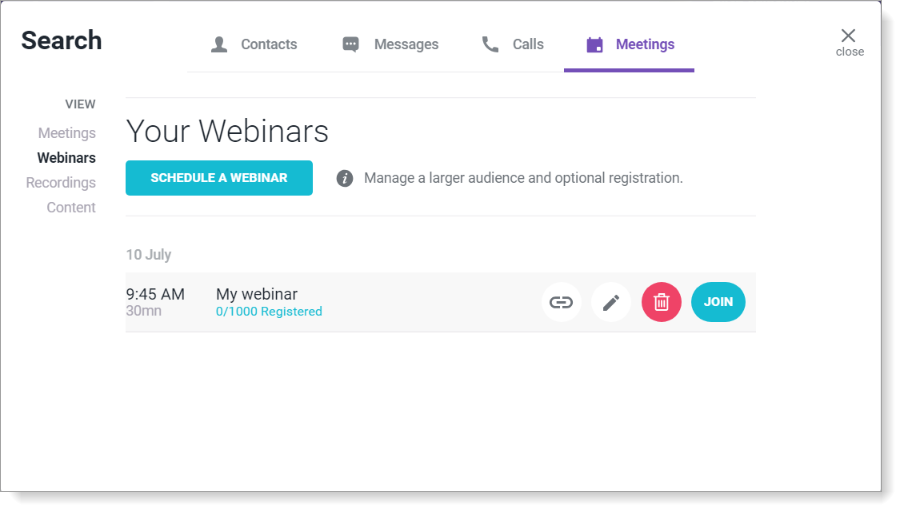
Your scheduled webinars are listed on the Webinars section of the Meetings tab in the Search screen. Point your cursor to a webinar to copy the webinar link, edit webinar details and regenerate an invite, delete, or join the webinar.
